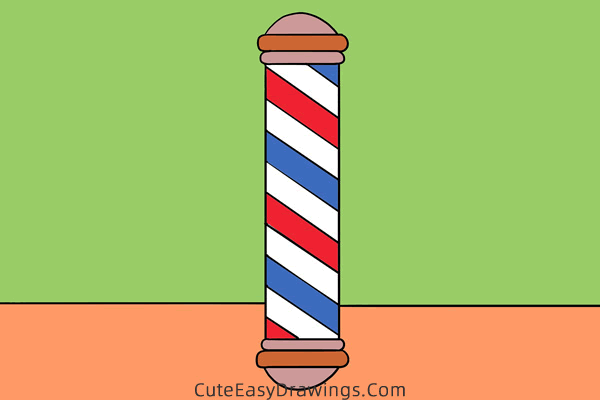
Have you ever seen a colorful pole with stripes outside a shop that cuts hair? That's called a barber pole, and it's a special sign that tells us there's a place where people go to get their hair cut and styled.
This pole has stripes that usually go in a circle, like a candy cane or a lollipop. The colors are often red, white, and blue, but sometimes you might see other colors too. The barber pole spins around, and when it does, it looks like the stripes are dancing. It's really pretty and catches your eye, so you know that's where you can go if you need a haircut.
Long, long ago, barbers did more than just cut hair. They also did things like removing warts and even small surgeries. One of the things they did was to let blood from people who were feeling sick. They used to use a bowl to catch the blood, and after they were done, they would wash the blood off the bowl with water.
The water and blood would mix and make a swirly red and white pattern, kind of like the barber pole we see today. So for today's drawing tutorial we are going to learn how to draw a barber pole, if you are interested why not follow the instructions below and try your hand at drawing one!
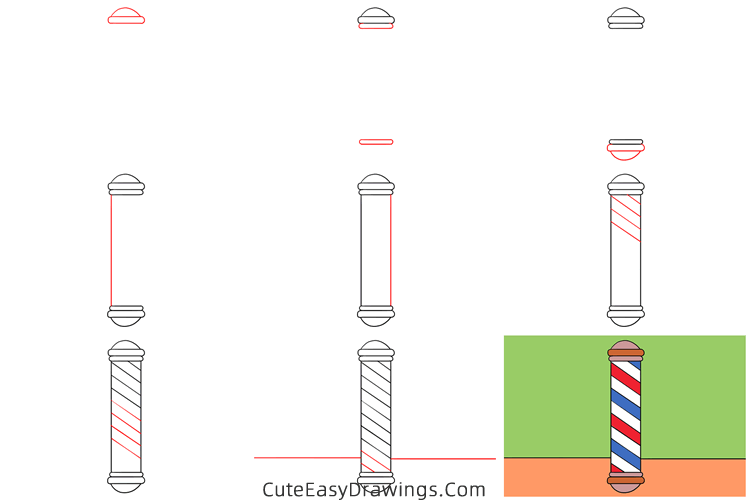
SUPPLIES NEEDED:
√ Draw a Barber Pole PDF (Click to download for free.)
√ Drawing Papers (You can get it easily and I would say almost any paper can be used.)
√ Pencils / Markers / Crayons / Watercolors (Remember to use a pen with a fine tip when outlining.)
FOR WHOM:
Preschoolers and kids of all ages
TIME NEEDED:
Less than 0.5 hour
INSTRUCTIONS:
How to Draw a Barber Pole Step by Step
Step 1 Draw the top of this barber pole.
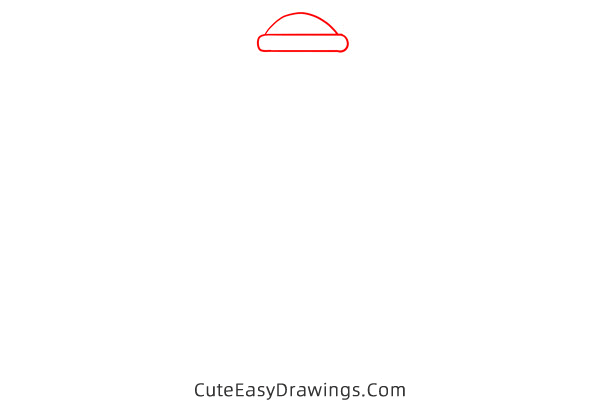
Step 2 Draw two stick-like shapes.
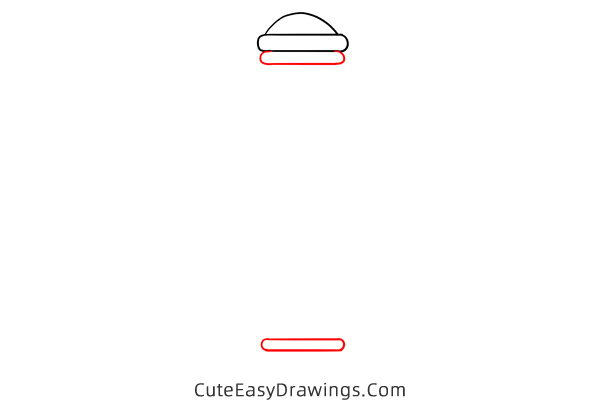
Step 3 Draw the bottom of this barber pole.
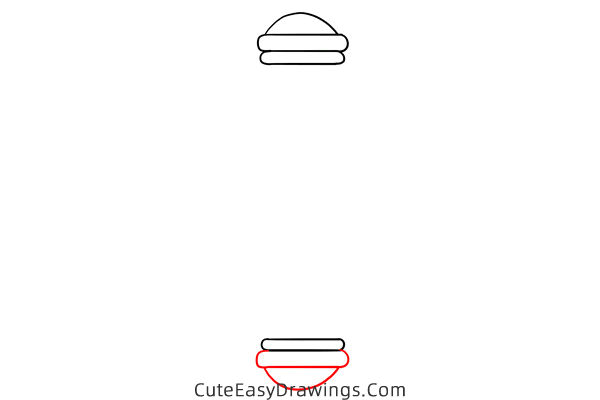
Step 4 Draw a straight vertical line.
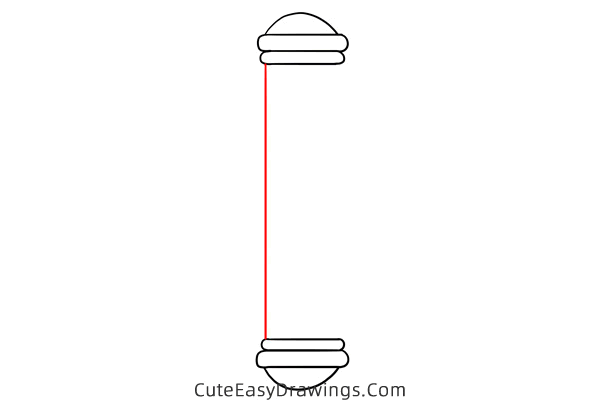
Step 5 Draw another straight vertical line.
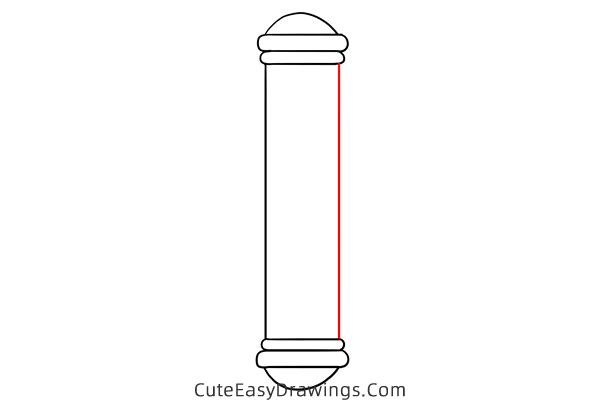
Step 6 Add slashes to this barber pole.
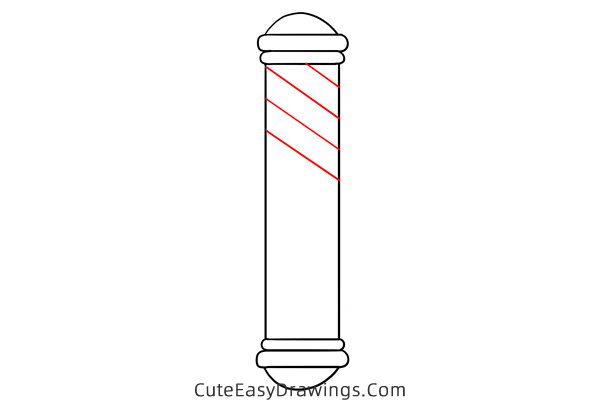
Step 7 Continue to add slashes to this barber pole.
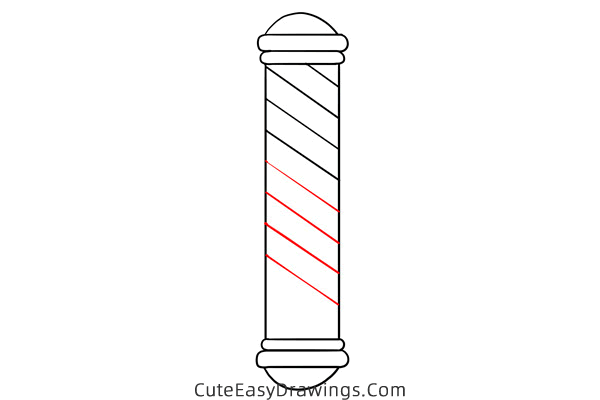
Step 8 Add the last two slashes.
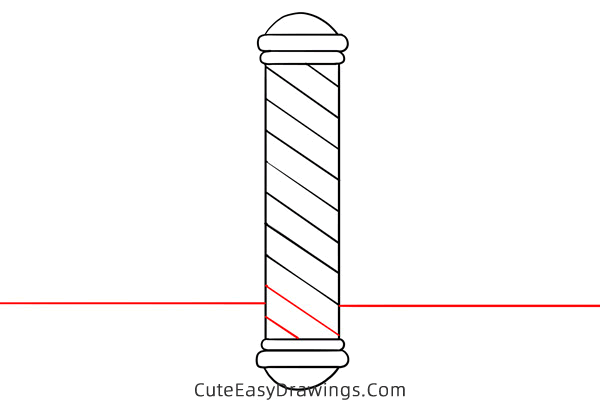
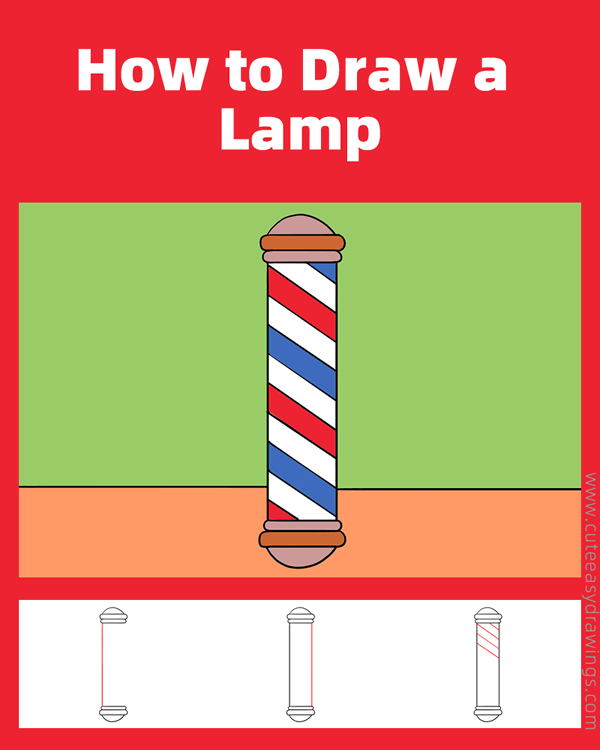
Step 9 Simply color to complete this barber pole.

Guys, have you learned how to draw a barber pole yet?
 How to Draw a Pan Step by Step
 How to Draw a Lighter Step by Step
 How to Draw a Table Lamp Step by Step
 How to Draw a Robot Easy Step by Step
