Have you ever seen a tiny, fuzzy insect buzzing around flowers in the garden? That's a bee! Bees are nature's little helpers. They are very important because they help flowers grow.
You see, flowers have a special job for bees. Inside the flowers, there are tiny parts called 'pollen' and 'nectar'.
Pollen is like flower dust, and nectar is like a sweet drink. Bees love nectar, so they go from one flower to another to get it. When they do this, they accidentally pick up some of the pollen on their fuzzy body.
Now, here's the magic part: when a bee visits another flower, it leaves some of the pollen behind. This helps the flowers to make seeds, which means they can grow into new plants and flowers.
This is called 'pollination'. It's like bees are playing a game of 'flower tag', and they're helping the flowers to make new friends!
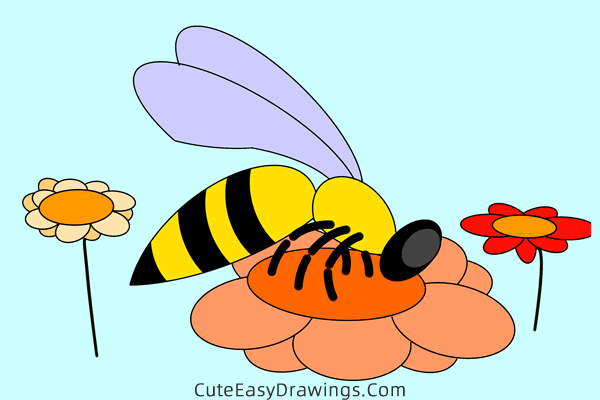
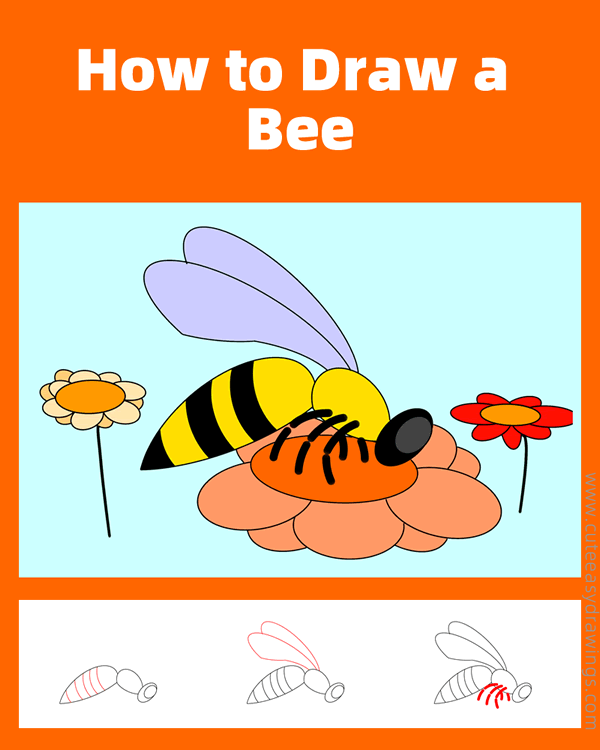
Bees help to make our world a more colorful and beautiful place, they are amazing, aren't they? For today's drawing tutorial, let's learn how to draw a bee resting on a flower!
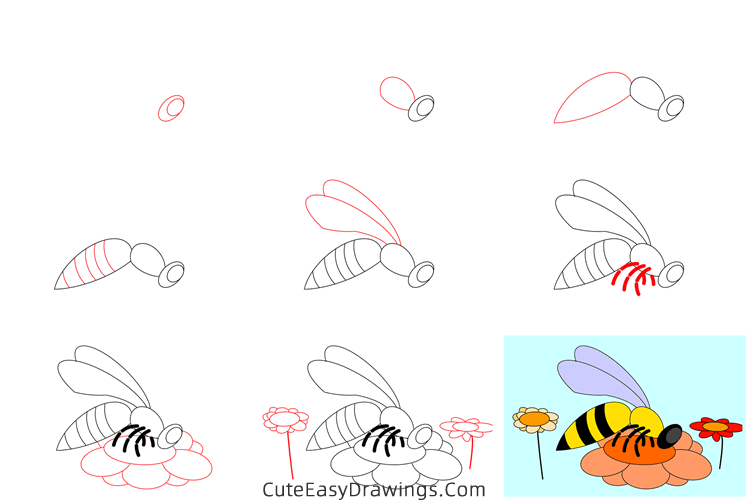
SUPPLIES NEEDED:
√ Draw a Bee on a Flower PDF (Click to download for free.)
√ Drawing Papers (You can get it easily and I would say almost any paper can be used.)
√ Pencils / Markers / Crayons / Watercolors (Remember to use a pen with a fine tip when outlining.)
FOR WHOM:
Preschoolers and kids of all ages
TIME NEEDED:
About 1 hour
INSTRUCTIONS:
How to Draw a Bee on a Flower Step by Step
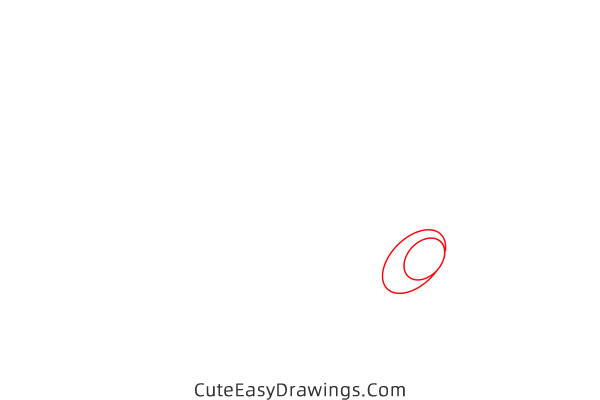
Step 1 Draw the head of this bee.
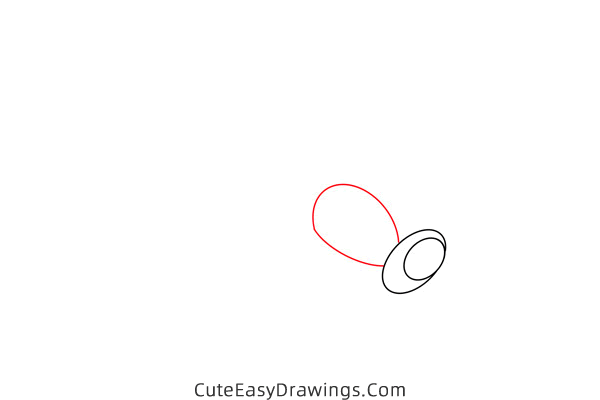
Step 2 Draw the body of this bee.
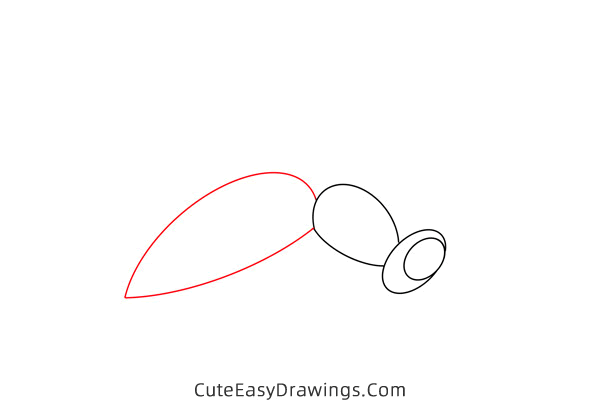
Step 3 Draw the tail of this bee.
Step 4 Add some curves.
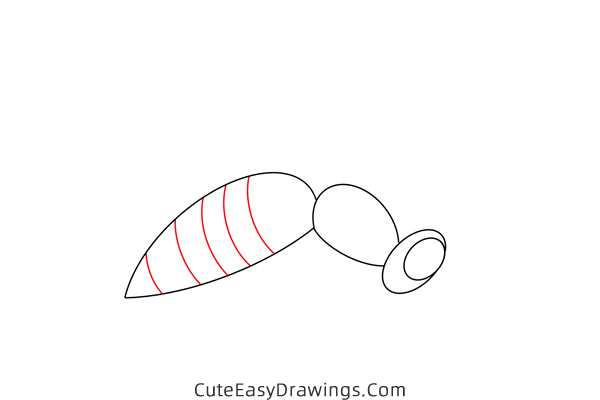
Step 5 Draw the wings of this bee.
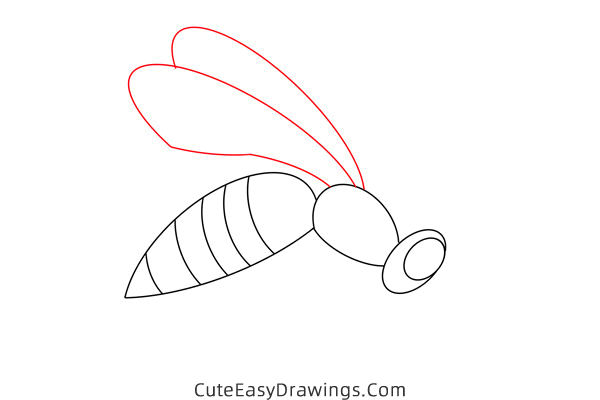
Step 6 Draw the legs of this bee.
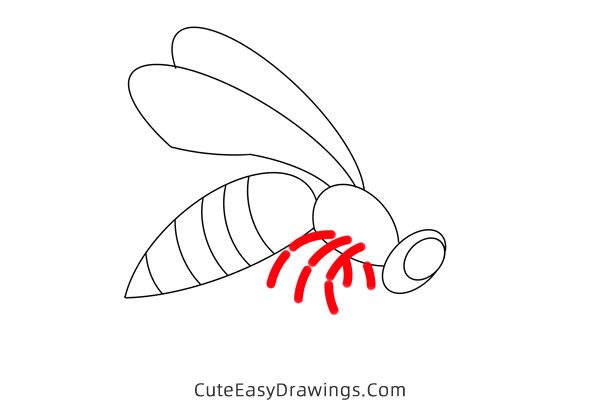
Step 7 Draw a flower.
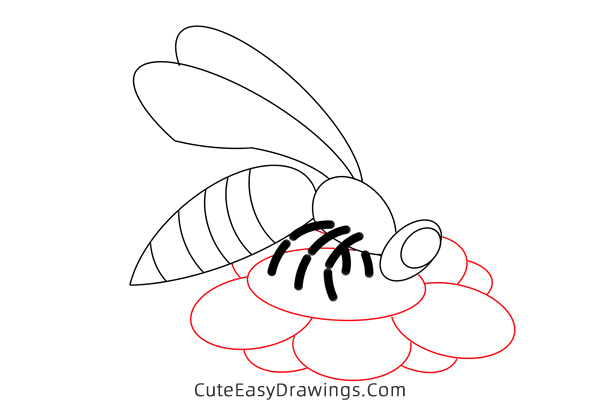
Step 8 Draw two flowers.
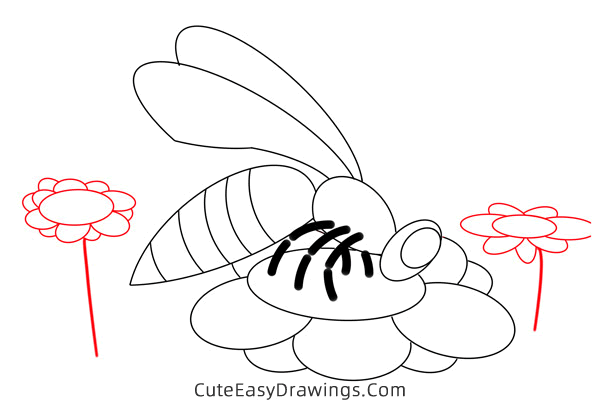
Step 9 Color this bee and flowers.

Guys, have you learned how to draw a bee on a flower yet?
 How to Draw a Cat Step by Step
 How to Draw a Siamese Cat Step by Step
 How to Draw a Capybara Easy Step by Step
 How to Draw Rudolph Step by Step