A book is a special thing that we use to read stories, learn new things, and have fun. It has lots of pages inside, and each page has words and sometimes pictures on them.
We can open the book and turn the pages one by one to read what's written there. Books can be about many different things.
Some books have stories about people, animals, or magical creatures. Other books can teach us about the world, like how plants grow or how to do math.
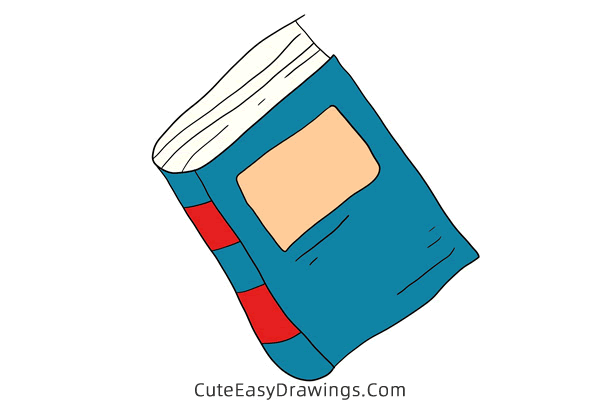
There are even books with pictures and no words, called picture books, that we can look at and imagine our own stories.
Books are made by people called authors who write the words and illustrators who draw the pictures. They help us learn, dream, and go on adventures without leaving our homes.
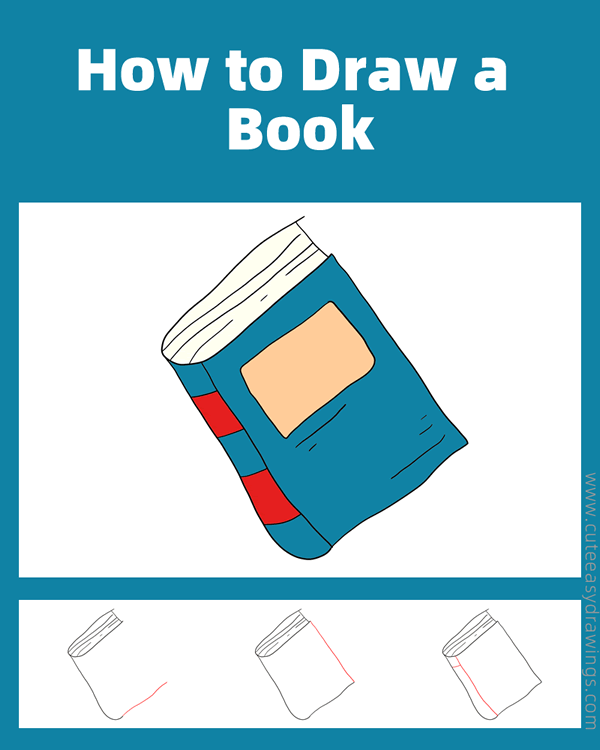
Reading books is a great way to have fun and learn new things! In today's drawing tutorial, we are going to learn how to draw a book. It's very simple and you can even add a book title to it!
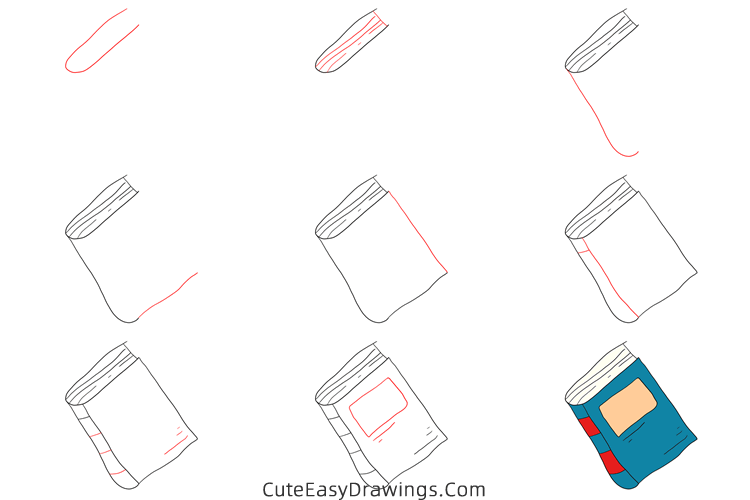
SUPPLIES NEEDED:
√ Draw a Book PDF (Click to download for free.)
√ Drawing Papers (You can get it easily and I would say almost any paper can be used.)
√ Pencils / Markers / Crayons / Watercolors (Remember to use a pen with a fine tip when outlining.)
FOR WHOM:
Preschoolers and kids of all ages
TIME NEEDED:
About 0.5 hour
INSTRUCTIONS:
How to Draw a Book Step by Step
Step 1 Draw the top side of this book.
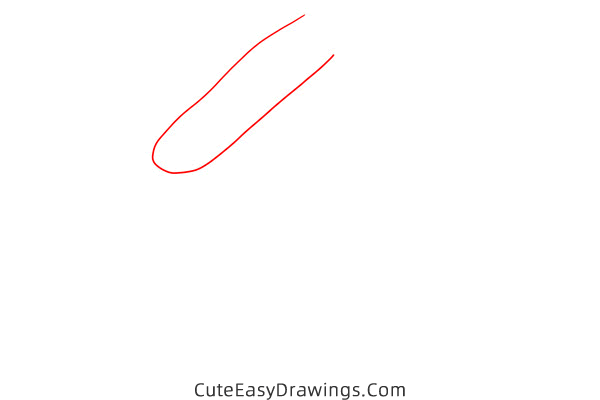
Step 2 Add details to this top side.
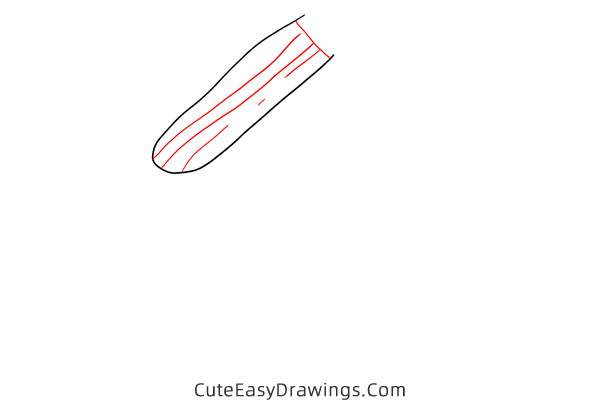
Step 3 Draw the left side of this book.
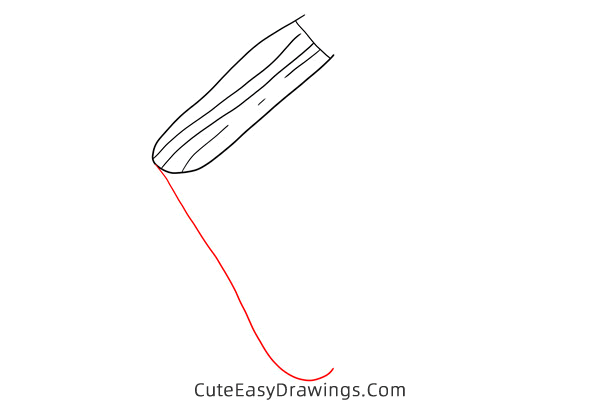
Step 4 Draw the bottom side of this book.
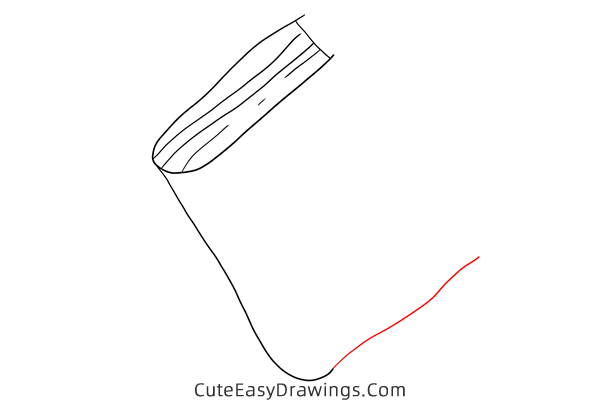
Step 5 Draw the right side of this book.
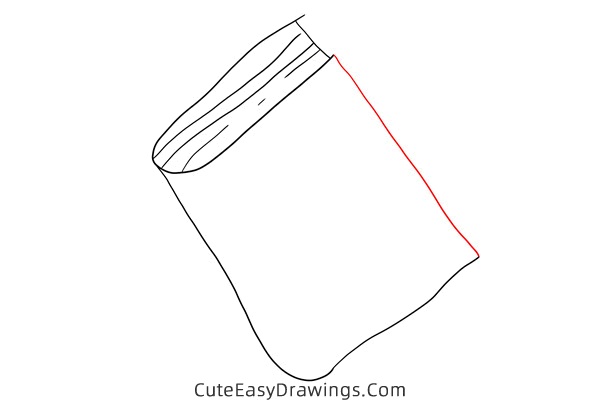
Step 6 Continue drawing the left side.
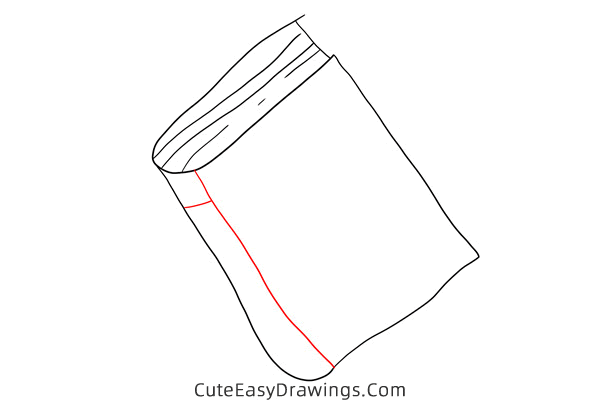
Step 7 Complete the left side of this book.
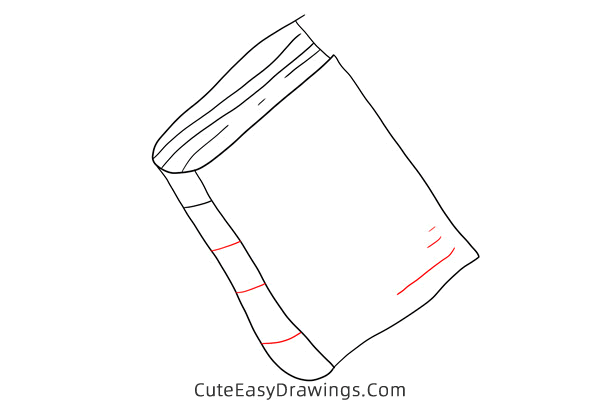
Step 8 Add a rectangle to the cover.
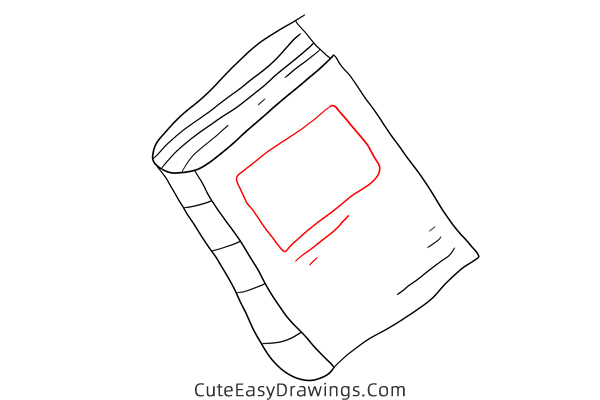
Step 9 Simply color this book.

Guys, have you learned how to draw a book yet?
 How to Draw a Pan Step by Step
 How to Draw a Baseball Bat and Ball Step by Step
 How to Draw a Lighter Step by Step
 How to Draw a Table Lamp Step by Step