Lighting brings a bright, soothing and cozy environment, and chandeliers are great at creating atmosphere. In the installation of chandeliers need to pay attention to not hanging too short, hindering the normal line of sight.
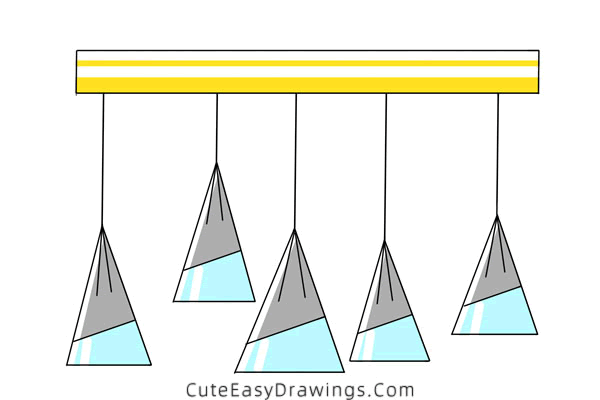
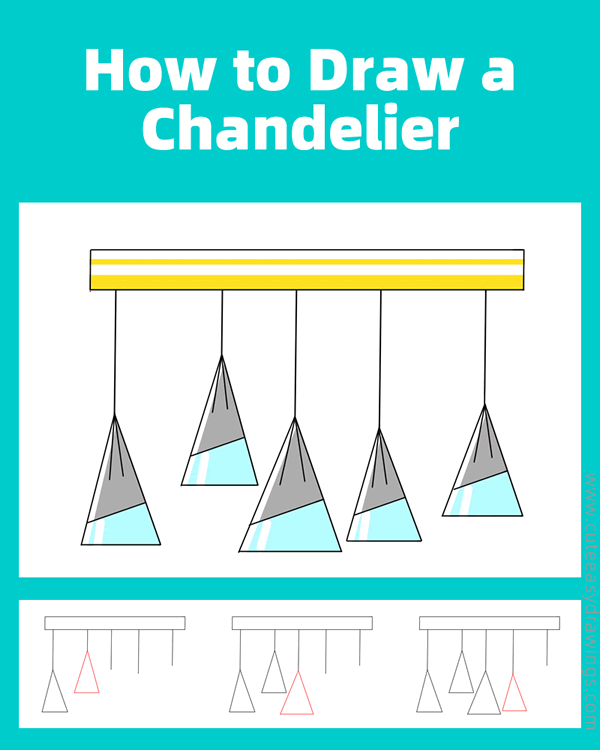
Today we are going to learn to draw a chandelier, which is usually used in the dining room and consists of five triangular lamps. You can easily finish it, so if you are interested, follow the instructions step by step and try it out.
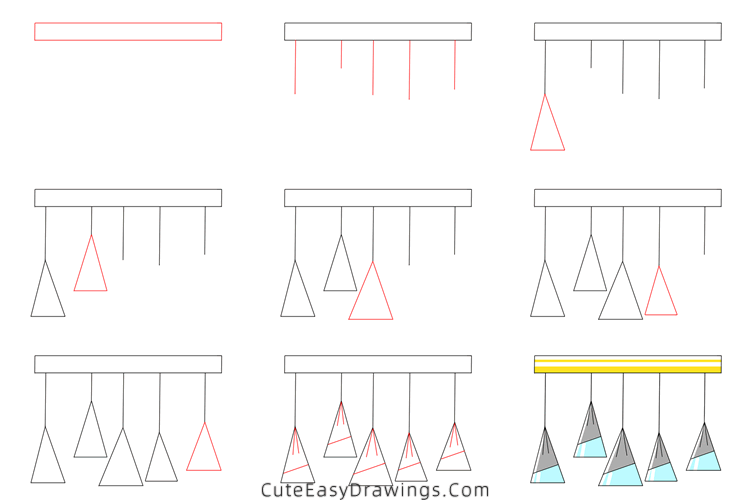
SUPPLIES NEEDED:
√ Draw a Chandelier PDF (Click to download for free.)
√ Drawing Papers (You can get it easily and I would say almost any paper can be used.)
√ Pencils / Markers / Crayons / Watercolors (Remember to use a pen with a fine tip when outlining.)
FOR WHOM:
Preschoolers and kids of all ages
TIME NEEDED:
About 0.5 hour
INSTRUCTIONS:
How to Draw a Chandelier Step by Step
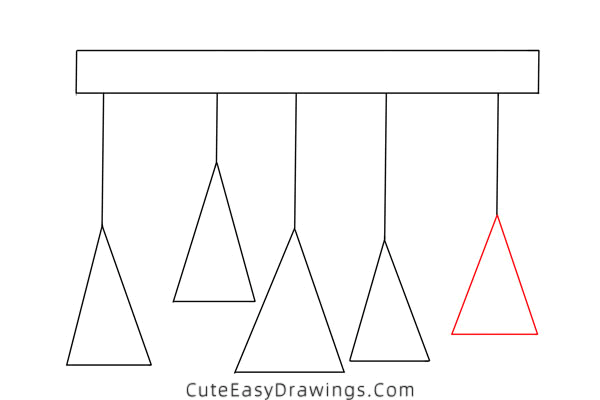
Step 1 Draw a long rectangle.

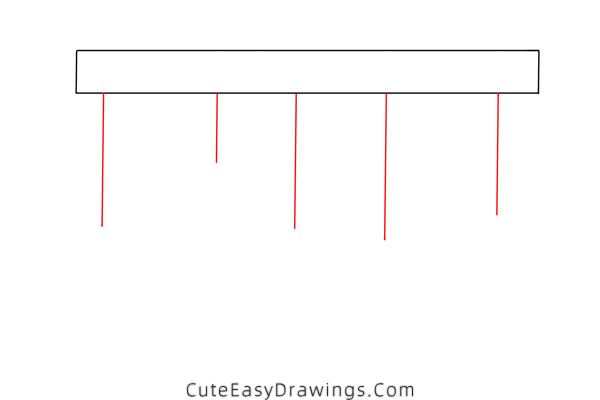
Step 2 Draw five lines down from the bottom of this rectangle.
Step 3 Draw a triangle at the bottom of the leftmost line.
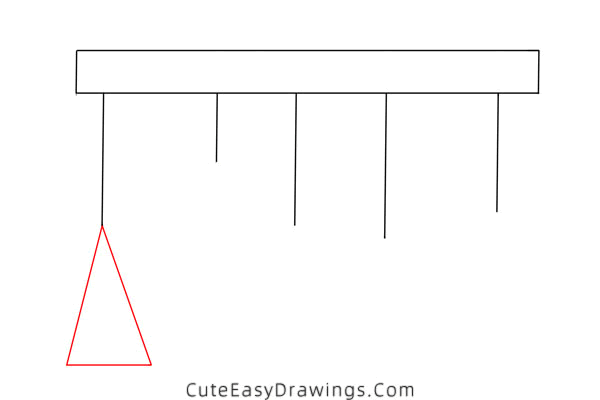
Step 4 Draw a triangle to the right of that one.
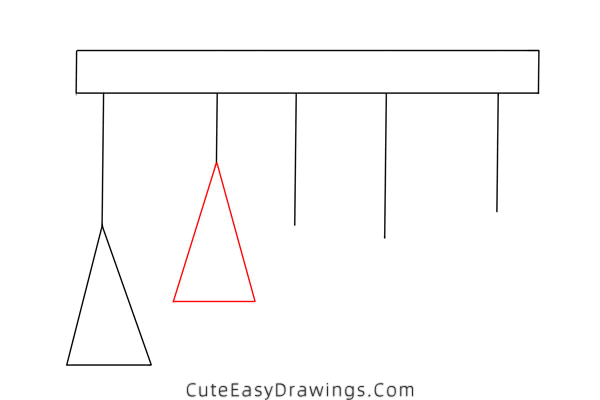
Step 5 Draw a triangle at the bottom of the line in the center.
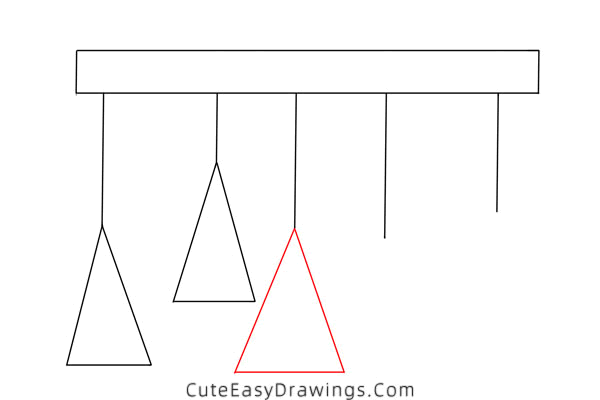
Step 6 Draw the fourth triangle.
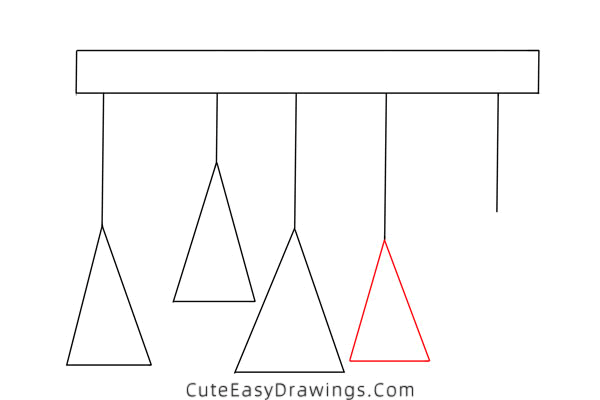
Step 7 Draw a triangle at the bottom of the rightmost line.
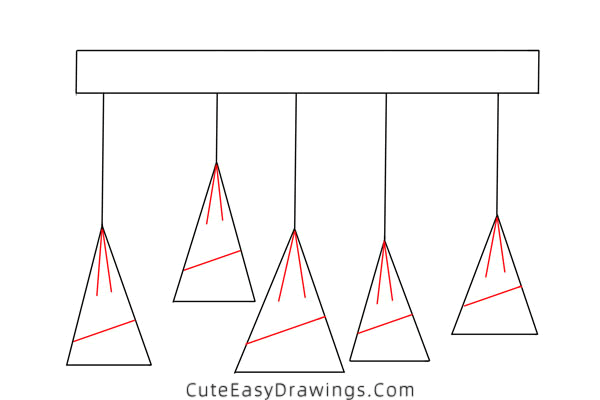
Step 8 Add three straight lines to each triangle.
Step 9 Finally choose your favorite colors to color this chandelier.

Guys, have you learned how to draw a chandelier yet?
 How to Draw a Pan Step by Step
 How to Draw a Lighter Step by Step
 How to Draw a Table Lamp Step by Step
 How to Draw a Robot Easy Step by Step


