A snowman is a fun and friendly figure that we make when it snows a lot, especially around Christmas time. Imagine you're outside on a cold, snowy day. You put on your warmest clothes, gloves, and a hat, and you go out to play in the snow.
You can make a snowman by rolling snow into three big balls. The biggest ball goes on the bottom, and the next size ball goes in the middle. The smallest ball goes on top, and that's where the snowman's head is.
Now, to make the snowman look more like a person, we add some things to it. We use coal or dark stones for the eyes and the nose.
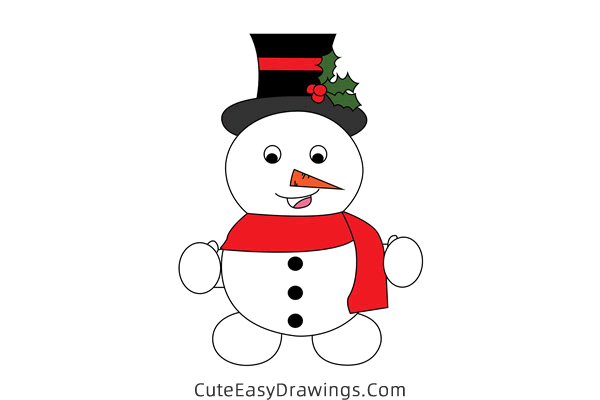
We might even draw a smile with a stick or use a red scarf for the snowman's mouth. For arms, we can use sticks or even carrots for the hands.
We also like to put a hat on our snowman to keep its head warm. Sometimes, we use a real hat or a pot from the kitchen. And don't forget the scarf to keep the snowman's neck cozy and warm.
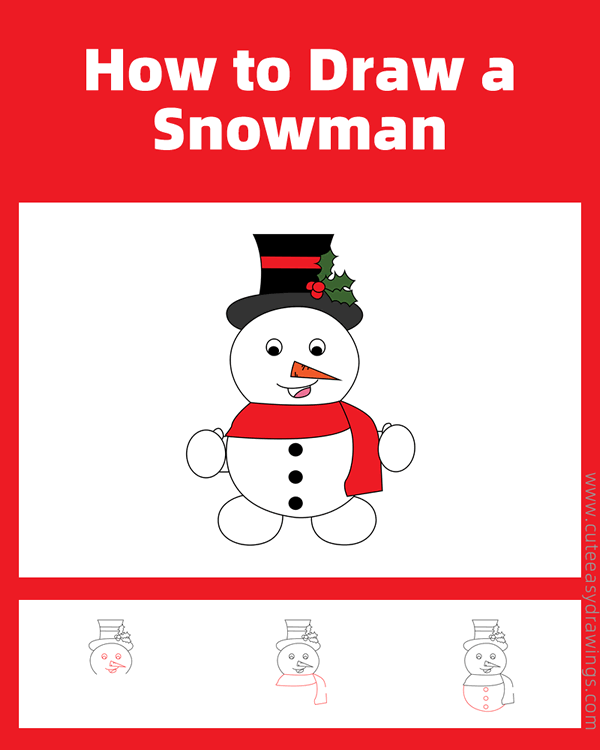
A Christmas snowman is like a friend who comes to visit when it's cold and snowy. It's a symbol of fun and joy during the holiday season. It reminds us to enjoy the winter and the magic of Christmas. A very cute Christmas snowman, if you like him, follow the step by step instructions below to learn how to draw him out!
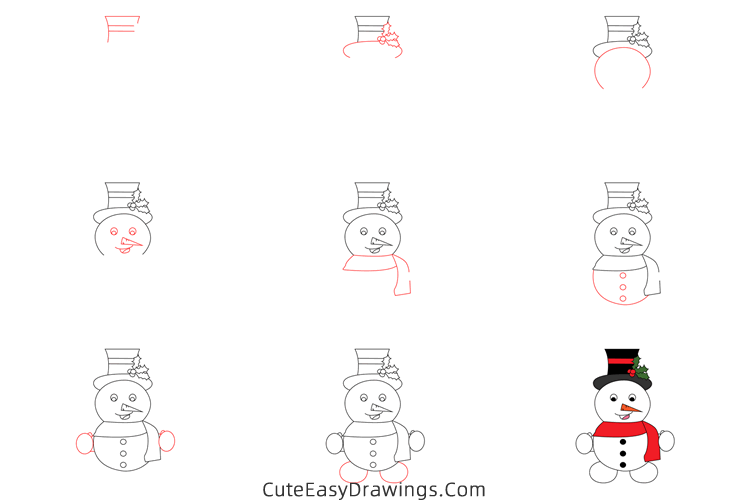
SUPPLIES NEEDED:
√ Draw a Christmas Snowman PDF (Click to download for free.)
√ Drawing Papers (You can get it easily and I would say almost any paper can be used.)
√ Pencils / Markers / Crayons / Watercolors (Remember to use a pen with a fine tip when outlining.)
FOR WHOM:
Preschoolers and kids of all ages
TIME NEEDED:
About 1 hour
INSTRUCTIONS:
How to Draw a Christmas Snowman Step by Step
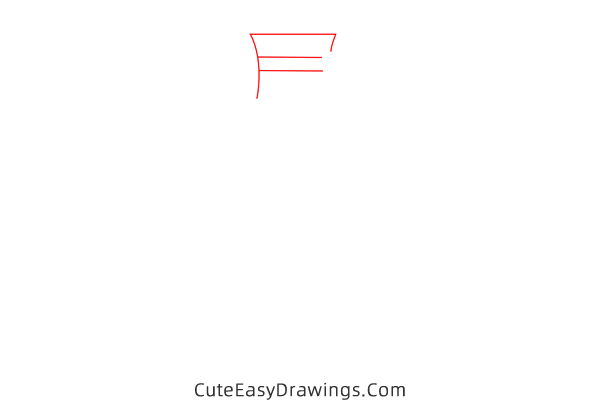
Step 1 Draw a tall hat.
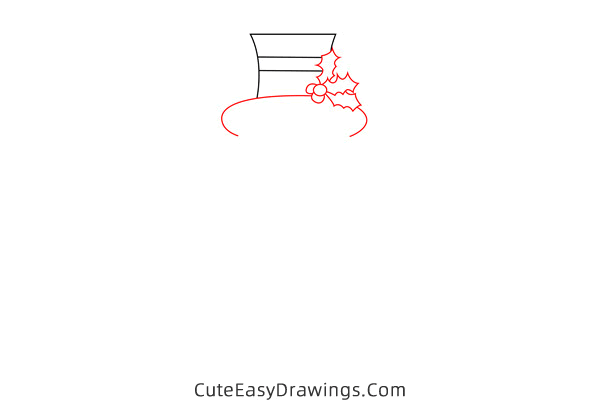
Step 2 Draw the brim and holly.
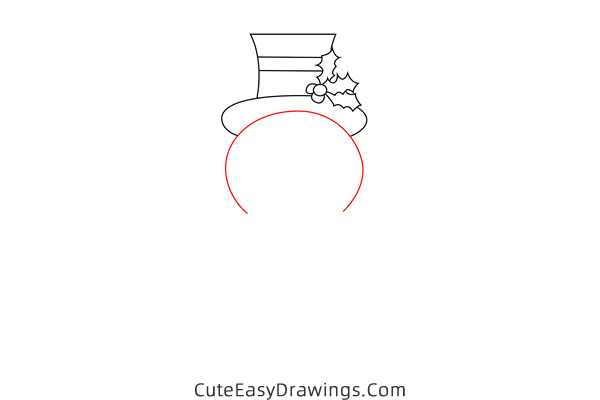
Step 3 Outline the head of this snowman.
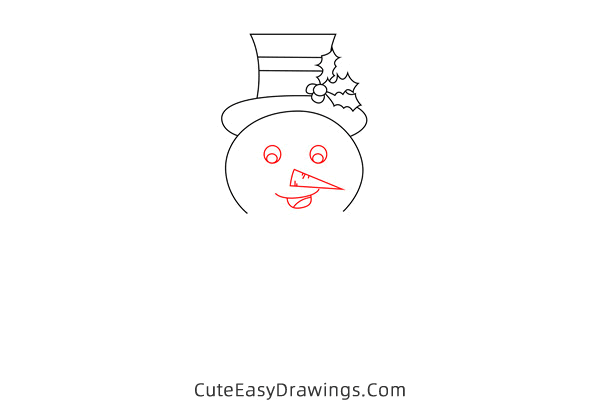
Step 4 Add this snowman's face.
Step 5 Draw this snowman's scarf.
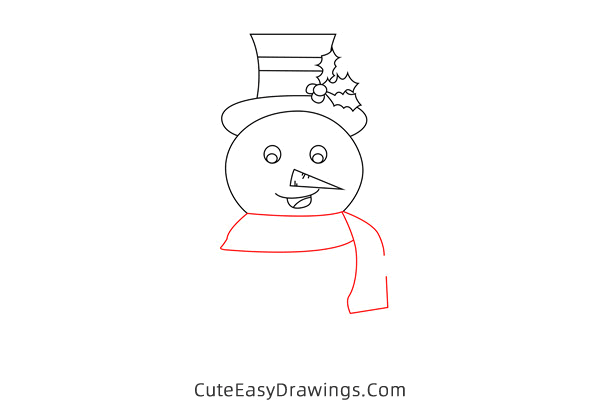
Step 6 Draw the body of this snowman.
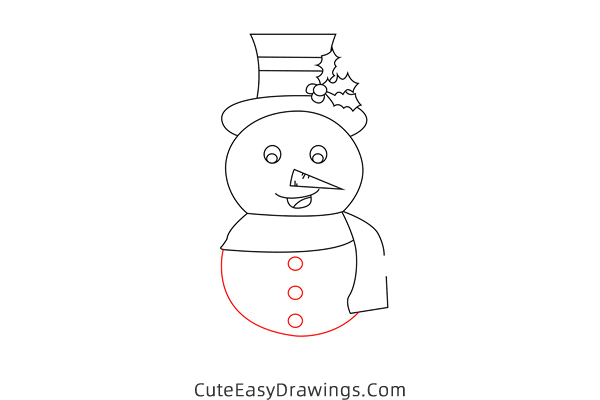
Step 7 Draw the arms of this snowman.
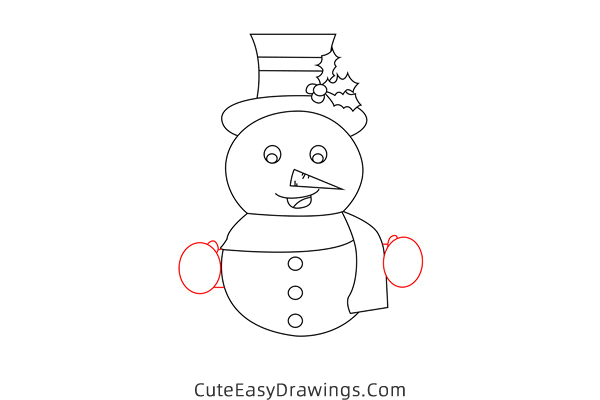
Step 8 Draw the feet of this snowman.
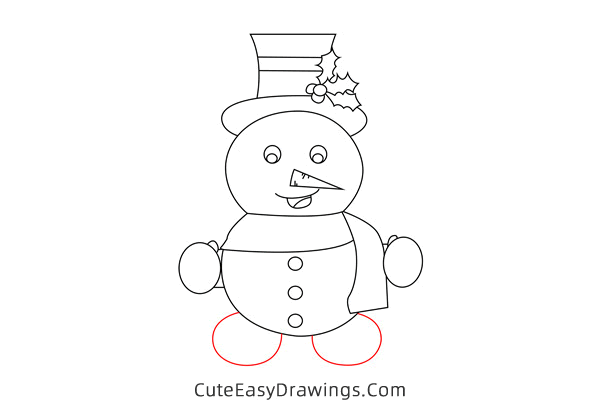
Step 9 Color this snowman at Christmas.

Guys, have you learned how to draw a Christmas snowman yet?
 How to Draw Rudolph Step by Step
 How to Draw a Rose Step by Step
 How to Draw a Halloween Cat Step by Step
 How to Draw a Christmas Tree Step by Step