Church windows are usually very big and tall. They're like giant paintings made of glass. Instead of using paint, they use lots of different colored glass pieces.
These pieces are put together to make beautiful pictures. The pictures can show things like angels, saints, or stories from the Bible.
When the sun shines through these windows, it's like magic. The light comes in and makes all the colors bright and pretty.
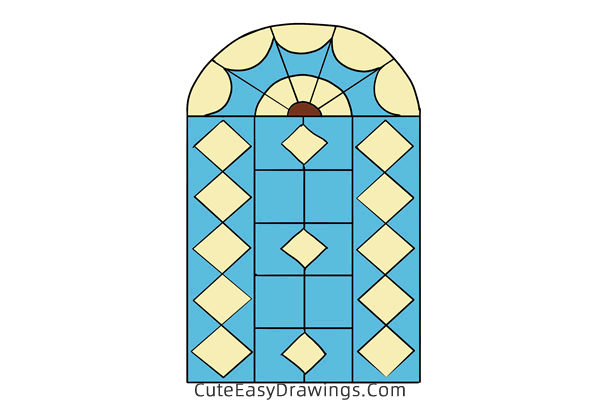
It's like having rainbows inside the church. The colors dance on the walls and the floor, making everything look extra special.
These windows are not just for looking pretty. They also help tell stories. Just like how we read books to learn things, people in the past used these windows to learn about important stories.
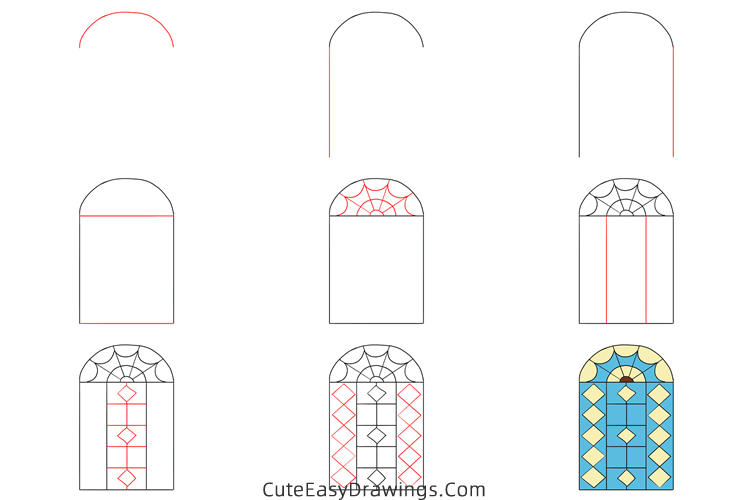
They're like big, colorful storybooks that you can see from far away. For today's drawing tutorial, we'll follow the step-by-step instructions below to learn to draw a church window, so if you're interested give it a try!
SUPPLIES NEEDED:
√ Draw a Church Window PDF (Click to download for free.)
√ Drawing Papers (You can get it easily and I would say almost any paper can be used.)
√ Pencils / Markers / Crayons / Watercolors (Remember to use a pen with a fine tip when outlining.)
FOR WHOM:
Preschoolers and kids of all ages
TIME NEEDED:
About 0.5 hour
INSTRUCTIONS:
How to Draw a Church Window Step by Step
Step 1 Draw an arch.

Step 2 Draw the left edge of this window.

Step 3 Draw the right edge of this window.

Step 4 Add two horizontal lines.

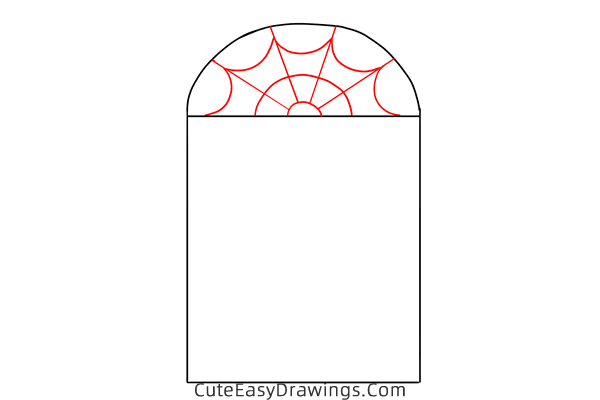
Step 5 Add a spiderweb-like pattern to the top.
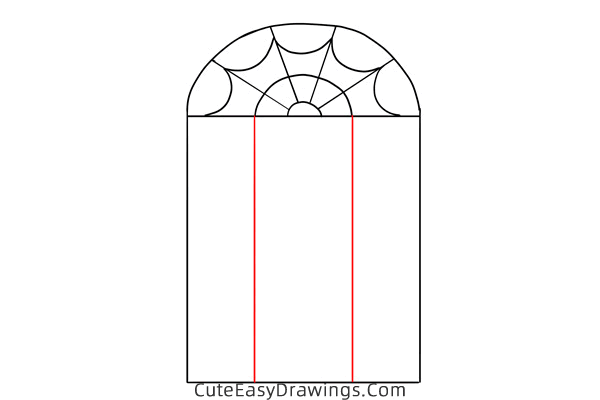
Step 6 Draw two vertical lines.
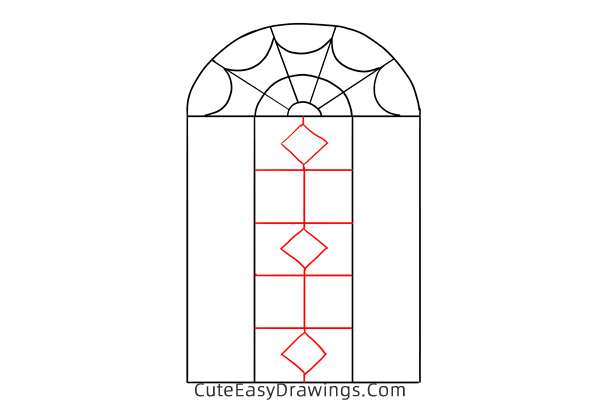
Step 7 Add straight lines and diamonds.
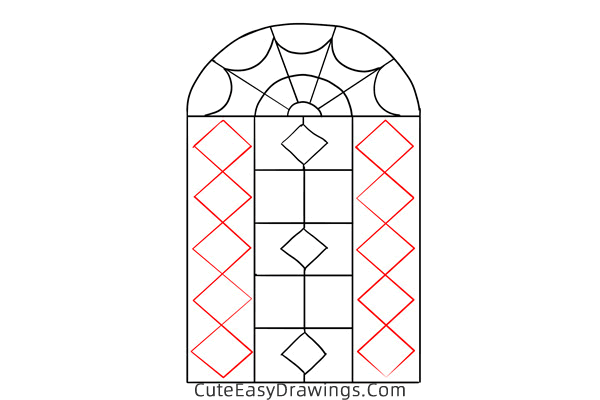
Step 8 Add diamond shapes to the sides.
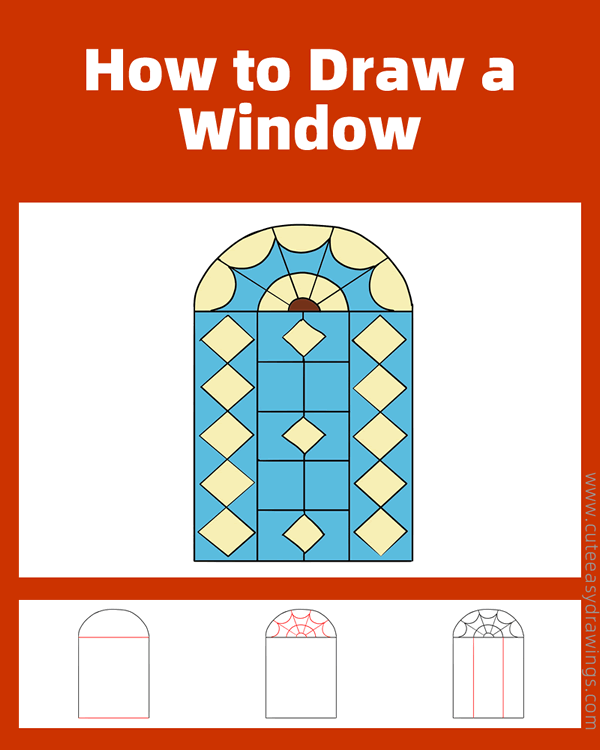
Step 9 Final coloring for this church window.

Guys, have you learned how to draw a church window yet?
 How to Draw a Small House Step by Step
 How to Draw a Church Step by Step
 How to Draw a Hospital Step by Step
 How to Draw a Cartoon House Step by Step


