Coffee is a beverage made from coffee beans that have been roasted and ground. The coffee tree is native to Ethiopia, Africa. Due to its great refreshing effect, coffee is becoming more and more popular all over the world.
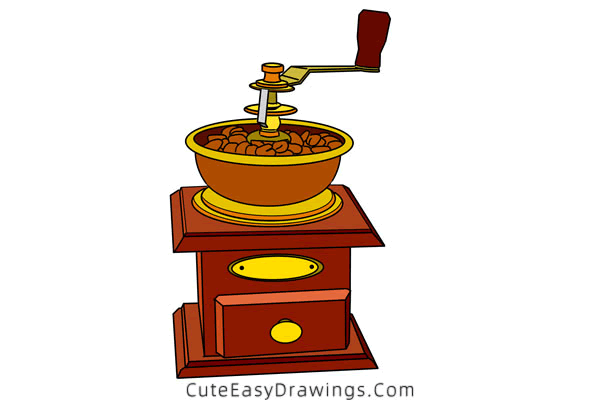
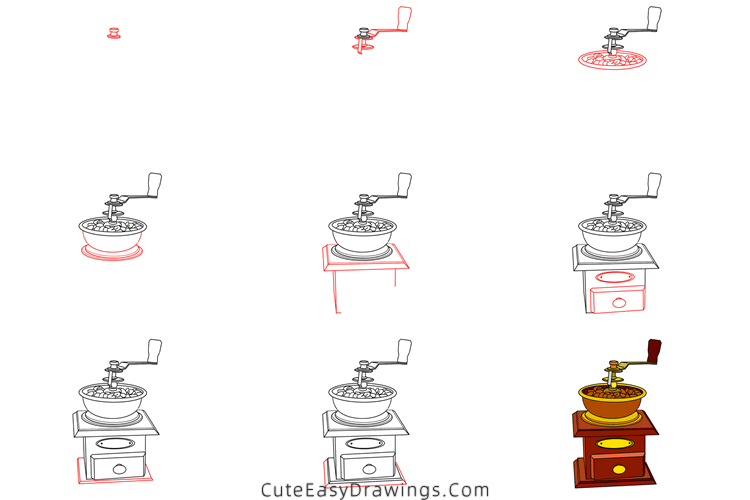
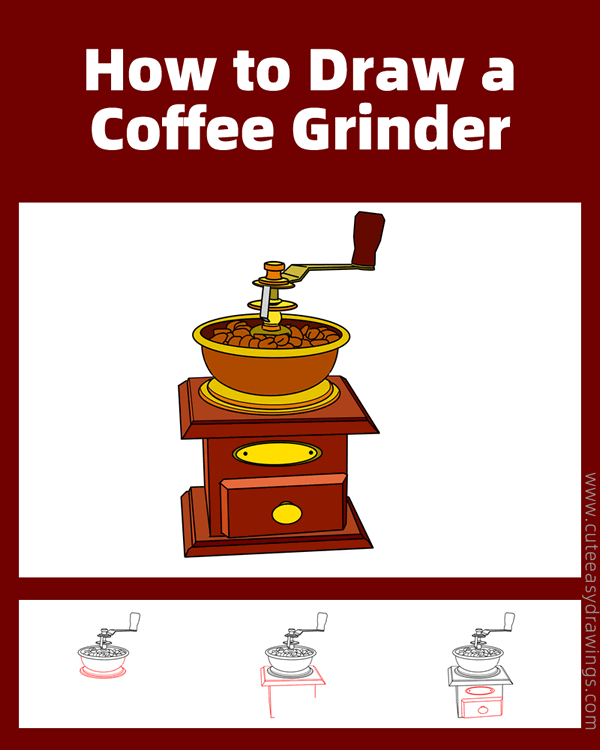
And today our drawing tutorial is not about drawing a cup of coffee or coffee beans, but a coffee grinder. By turning the handle manually, you can grind the coffee beans into powder. Let's try to draw it together step by step.
SUPPLIES NEEDED:
√ Draw a Coffee Grinder PDF (Click to download for free.)
√ Drawing Papers (You can get it easily and I would say almost any paper can be used.)
√ Pencils / Markers / Crayons / Watercolors (Remember to use a pen with a fine tip when outlining.)
FOR WHOM:
Elementary school students
TIME NEEDED:
About 1.5 hour
INSTRUCTIONS:
How to Draw a Coffee Grinder Step by Step
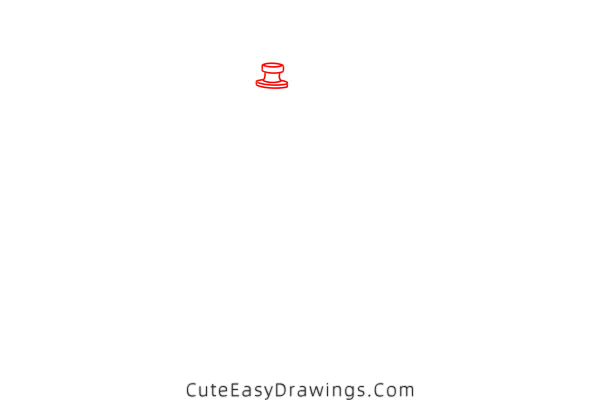
Step 1 Draw a shape that resembles a peg.
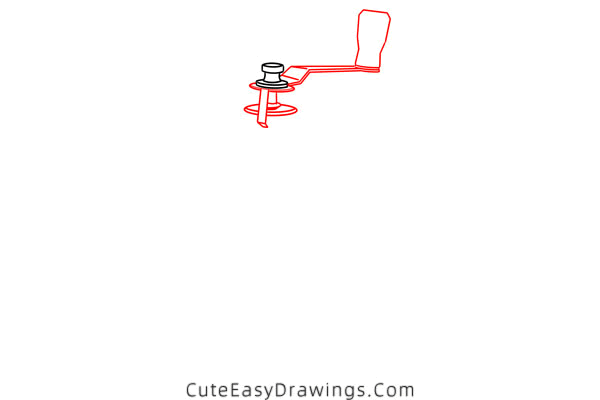
Step 2 Draw the handle of this coffee grinder.
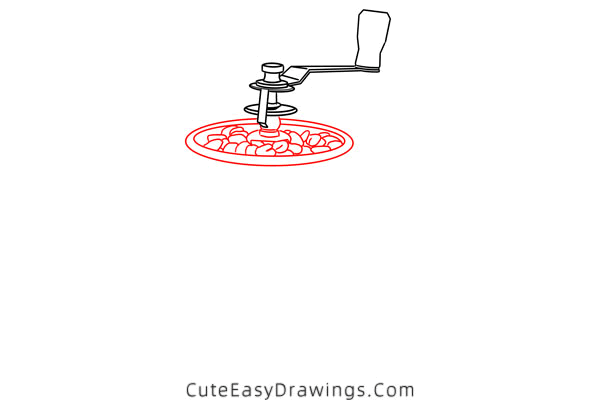
Step 3 Draw coffee beans.
Step 4 Draw a large bowl shape.
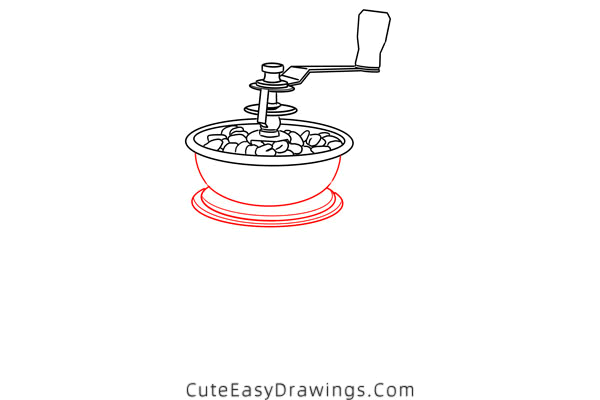
Step 5 Draw the body of this coffee grinder.
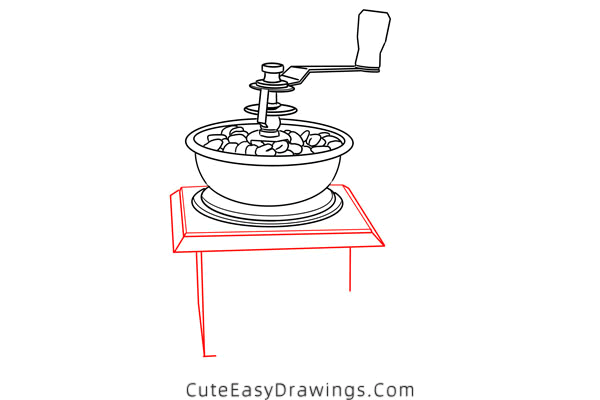
Step 6 Draw a label and a drawer.
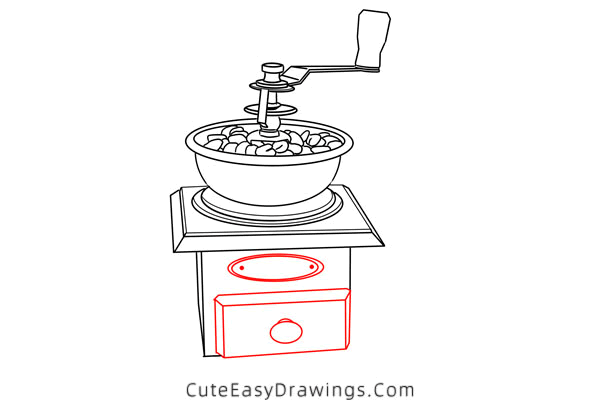
Step 7 Draw the base of this coffee grinder.
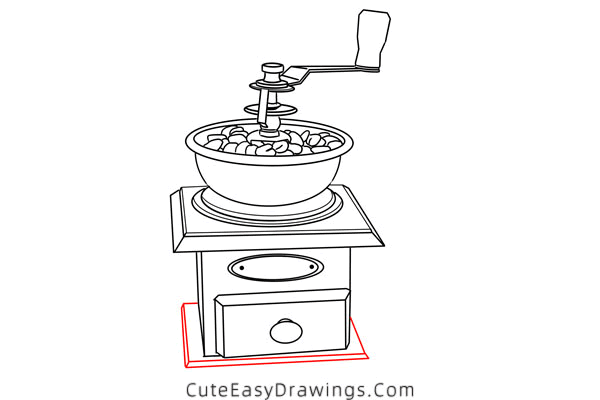
Step 8 Finish the base of this coffee grinder.
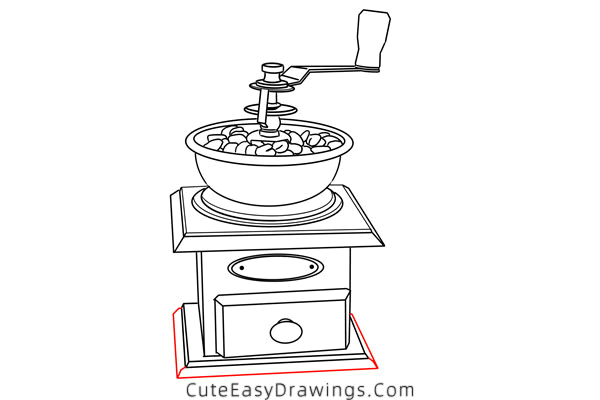
Step 9 Color it and this manual coffee grinder is complete.

Guys, have you learned how to draw a coffee grinder yet?
 How to Draw a Pan Step by Step
 How to Draw a Lighter Step by Step
 How to Draw a Table Lamp Step by Step
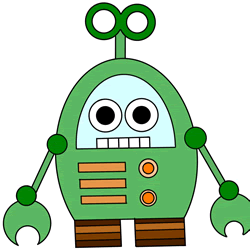 How to Draw a Robot Easy Step by Step