Faucet is a switch used to control the flow of water. We are not only concerned about practicality when buying faucets, but also whether they look good or not.
It is said that faucets first appeared in the 16th century in Istanbul, cast in bronze. Later it was changed to cheaper brass.
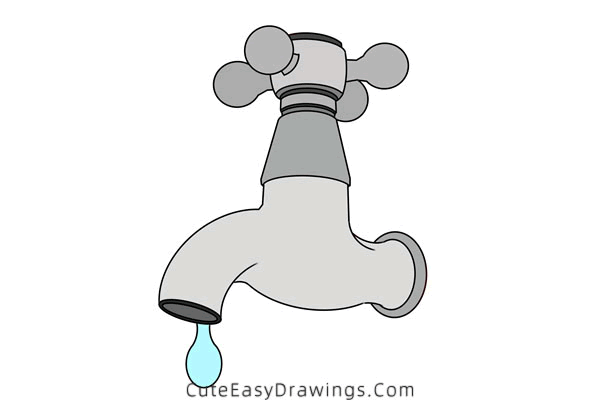
In the following drawing tutorial, we are going to learn how to draw a faucet, the most common style, maybe you even have one in your home!
Are you interested in drawing this faucet? If your answer is yes, take out your paper and pen and try to draw it following the step by step instructions below.
SUPPLIES NEEDED:
√ Draw a Faucet PDF (Click to download for free.)
√ Drawing Papers (You can get it easily and I would say almost any paper can be used.)
√ Pencils / Markers / Crayons / Watercolors (Remember to use a pen with a fine tip when outlining.)
FOR WHOM:
Elementary school students
TIME NEEDED:
About 0.5 hour
INSTRUCTIONS:
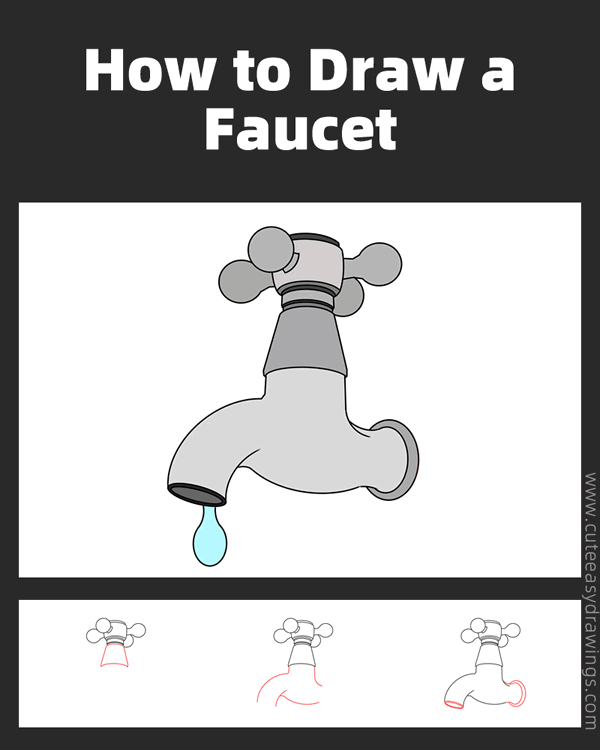
How to Draw a Faucet Step by Step
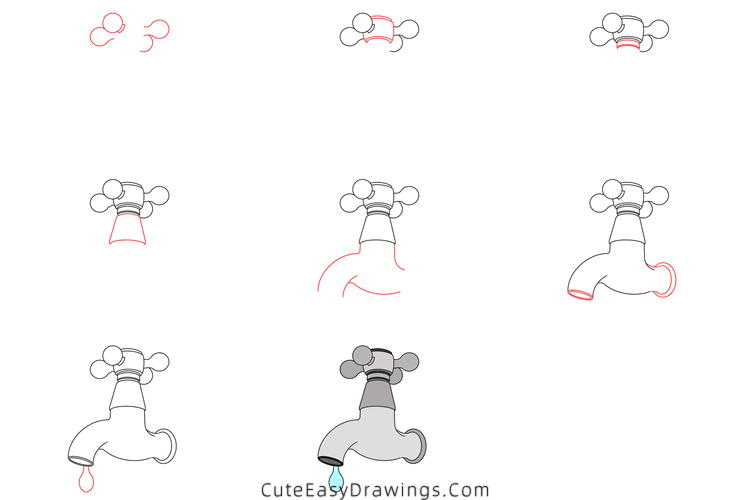
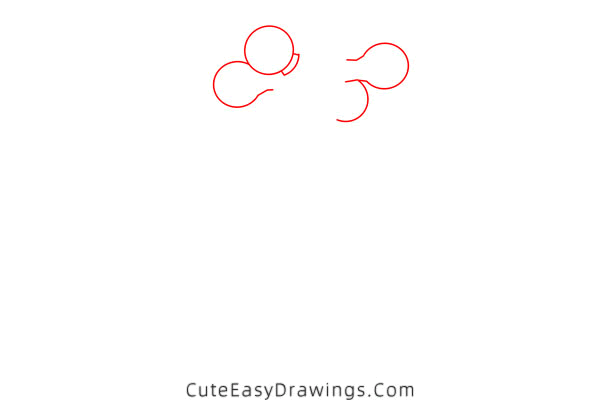
Step 1 Draw the handle of this faucet.
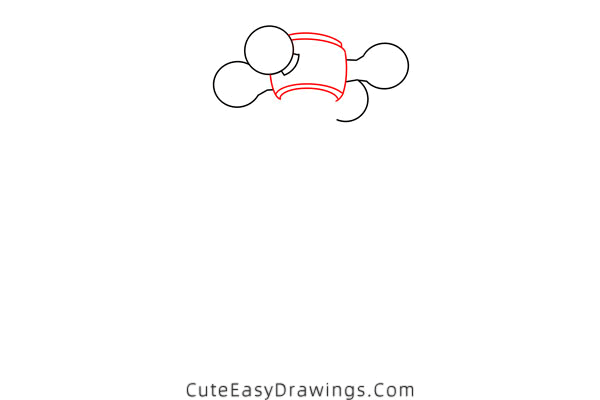
Step 2 Draw the center part of this handle.
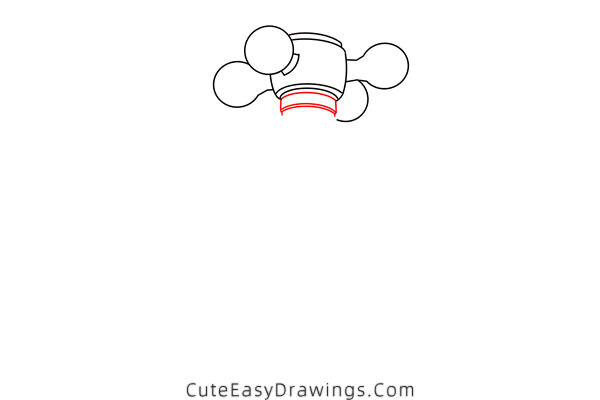
Step 3 Add the interface to the bottom of this handle.
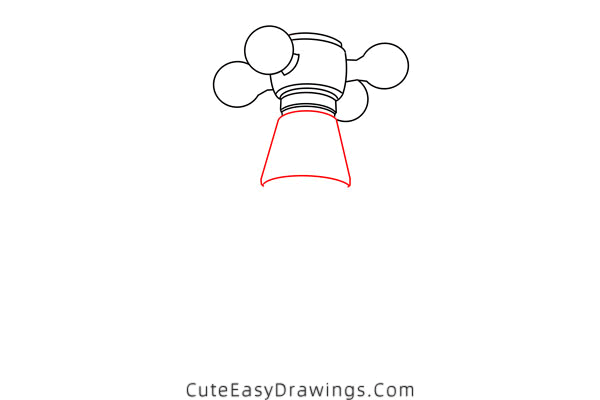
Step 4 Go ahead and add an interface at the bottom.
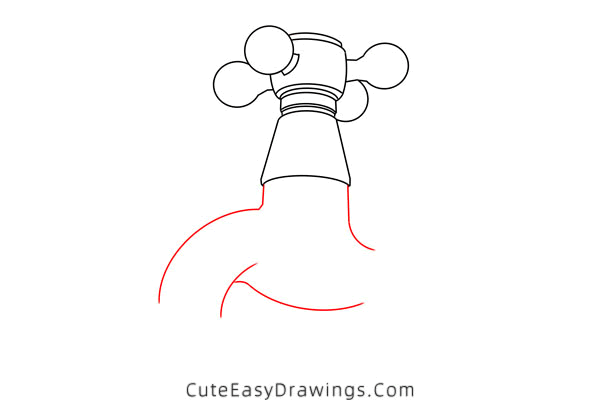
Step 5 Draw the outline of this faucet.
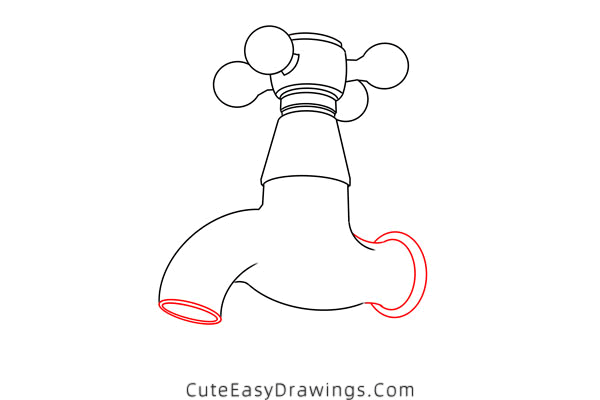
Step 6 Finish the outline of this faucet
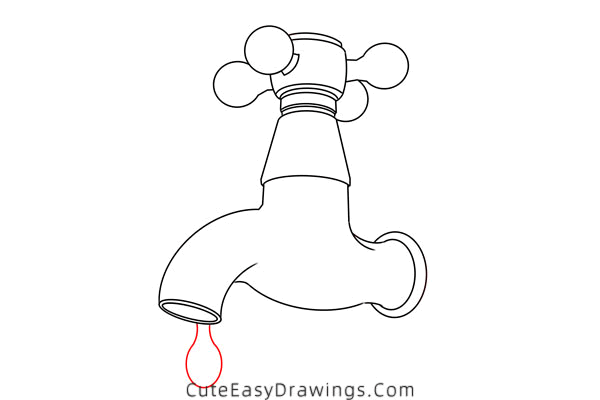
Step 7 Draw a water drop on the mouth of this faucet.
Step 8 Finish by coloring this faucet and water droplet.

Guys, have you learned how to draw a faucet yet?
 How to Draw a Pan Step by Step
 How to Draw a Lighter Step by Step
 How to Draw a Table Lamp Step by Step
 How to Draw a Robot Easy Step by Step
