Autumn is the season of harvest. At this time of the year, if you visit the orchards in the countryside, you will find all kinds of fruits ripening.
The trees are full of fruits, including deep red, pink, golden yellow, and green ones growing in the shade. The colorful fruits seemed to be celebrating the joy of harvest.
When you walk into the orchard, the scent of fruit hits you. One after another round and big fruits are swaying in the fall wind, as if inviting you to pick them off.
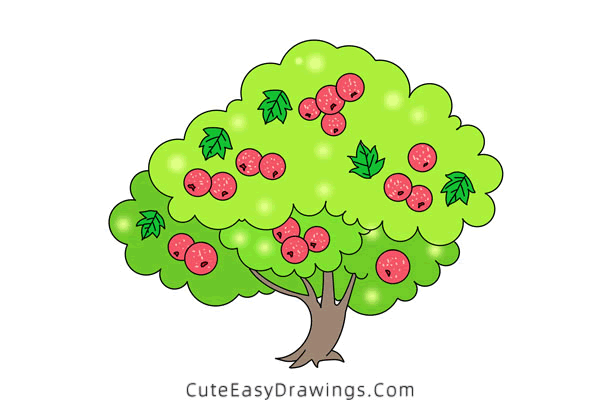
At this point, I'm sure you can't wait to pick one of the most delicious looking fruits, right? If you get a chance, be sure to take a stroll through an orchard in the fall!
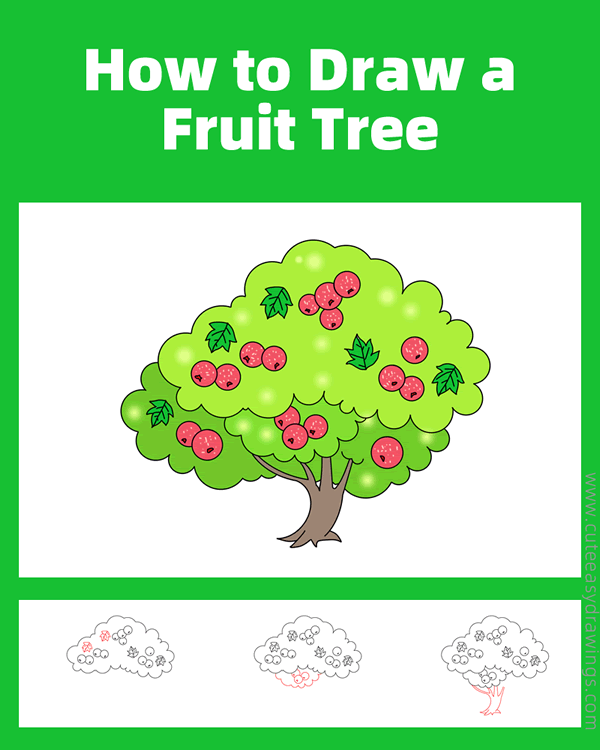
In today's drawing tutorial, we are going to learn how to draw a fruit tree. It has a lush canopy and is full of red fruits, like a lot of lanterns, it's so beautiful!
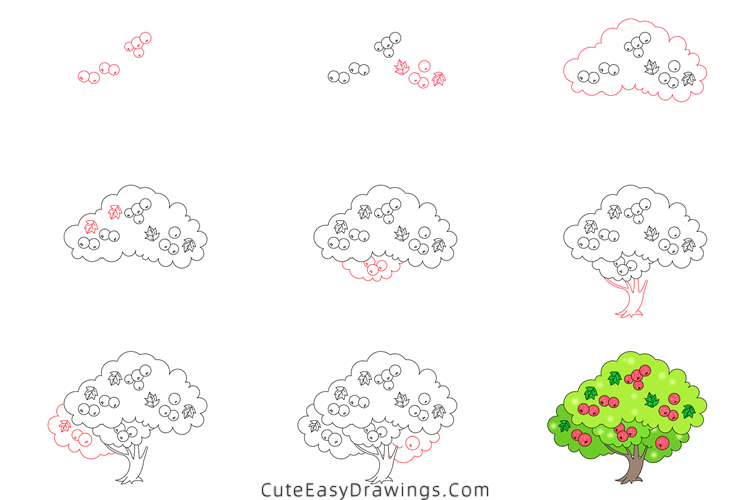
We'll start by drawing some fruit, and then we'll draw the crown of this fruit tree. After some additions to the crown, we will finally draw the trunk. If you like this fall fruit tree, follow the instructions below and have a try.
SUPPLIES NEEDED:
√ Draw a Fruit Tree PDF (Click to download for free.)
√ Drawing Papers (You can get it easily and I would say almost any paper can be used.)
√ Pencils / Markers / Crayons / Watercolors (Remember to use a pen with a fine tip when outlining.)
FOR WHOM:
Preschoolers and kids of all ages
TIME NEEDED:
About 1 hour
INSTRUCTIONS:
How to Draw a Fruit Tree Step by Step
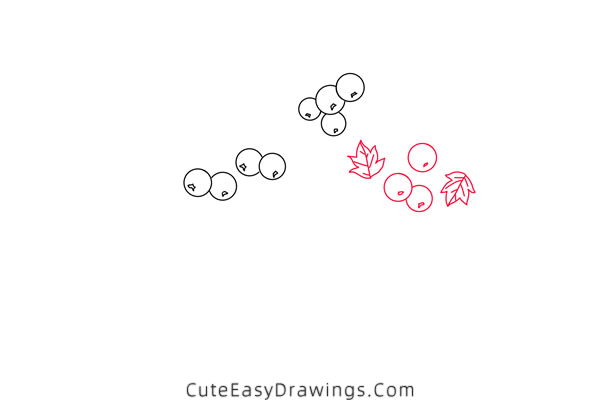
Step 1 Draw some fruit.

Step 2 Draw some fruit and leaves.
Step 3 Outline the canopy.

Step 4 Add leaves to the canopy.

Step 5 Draw the canopy and the fruit.

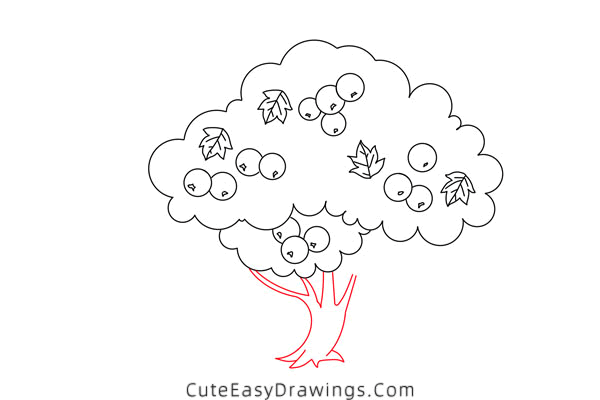
Step 6 Draw the trunk of this fruit tree.
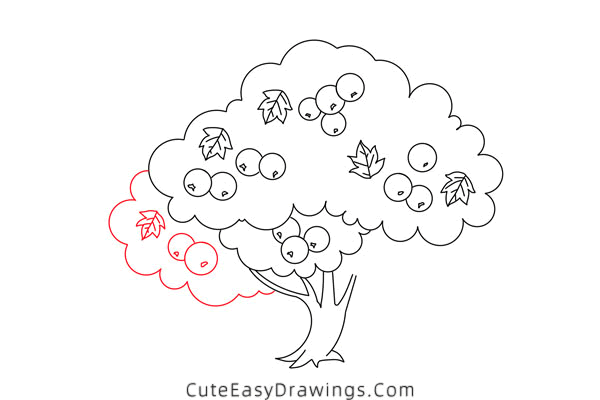
Step 7 Draw the left part of the canopy.
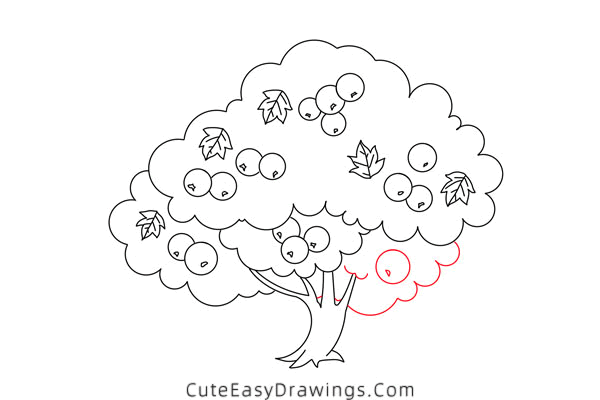
Step 8 Draw the bottom of the canopy.
Step 9 Color this fall fruit tree.

Guys, have you learned how to draw a fruit tree yet?
 How to Draw Grass Step by Step
 How to Draw a Rose Step by Step
 How to Draw a Cartoon Flower Step by Step
 How to Draw a Morning Glory Step by Step