A lighter, is a small fire-extracting device that can light a fire. The main principle is to rely on the electric stone to make a spark, and then ignite the gas.
Its resistance to wind and humidity is better than matches, and it can still be used in bad weather conditions, mainly for fire and smoking.
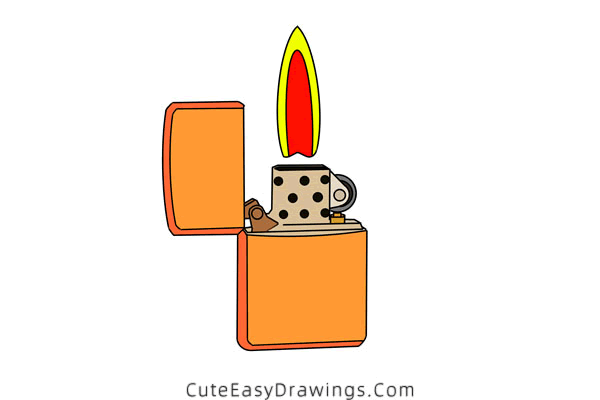
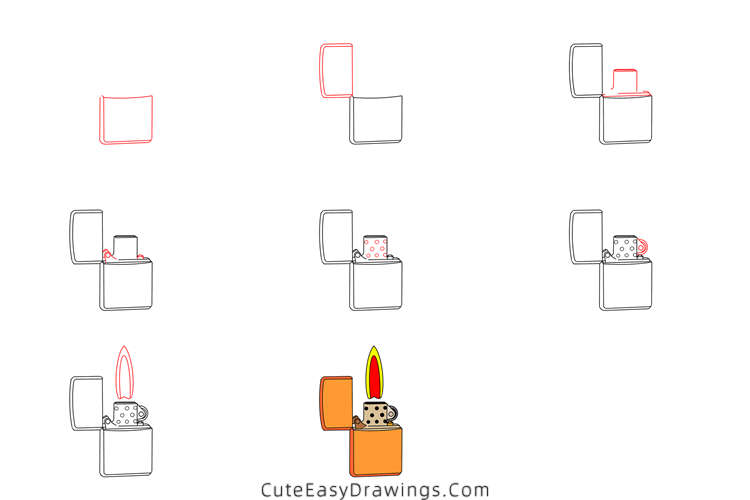
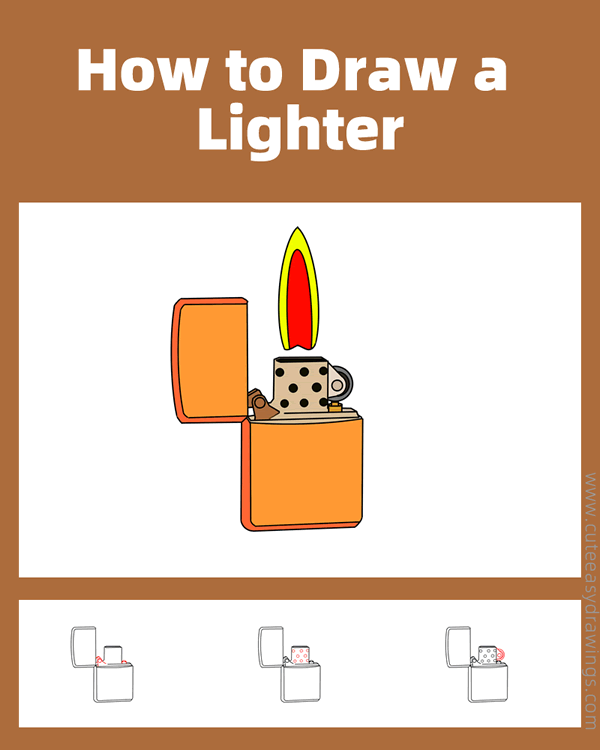
The following drawing tutorial will take us through how to draw a lighter. It's already lit, so we're not only going to draw a lighter, but also a flame.
This is a little bit difficult because we need to draw the mechanical parts of the lighter. If you are also curious about lighters, follow the instructions below and try to draw it, but don't mess around with real lighters, it's really dangerous!
SUPPLIES NEEDED:
√ Draw a Lighter PDF (Click to download for free.)
√ Drawing Papers (You can get it easily and I would say almost any paper can be used.)
√ Pencils / Markers / Crayons / Watercolors (Remember to use a pen with a fine tip when outlining.)
FOR WHOM:
Elementary school students
TIME NEEDED:
About 1 hour
INSTRUCTIONS:
How to Draw a Lighter Step by Step
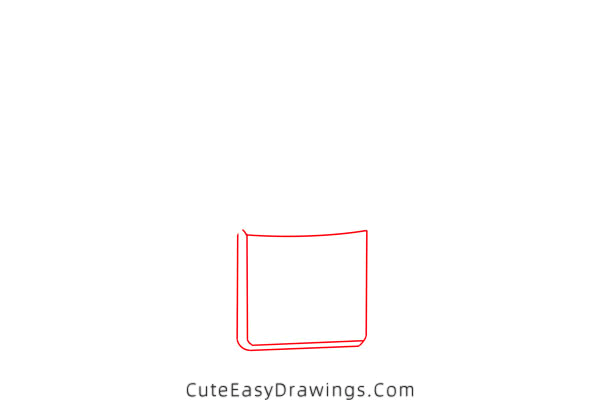
Step 1 Draw the outline of this lighter.
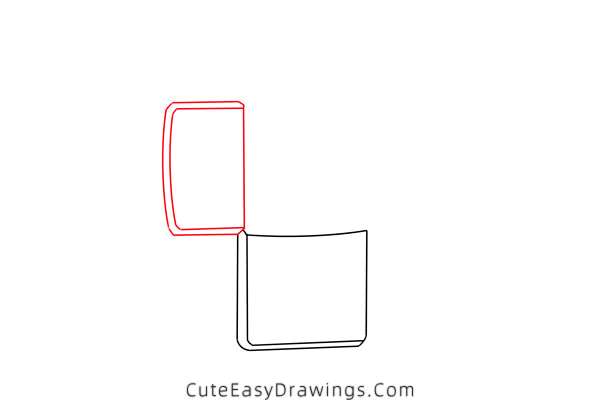
Step 2 Draw the lid of this lighter.
Step 3 Draw the top of this lighter.
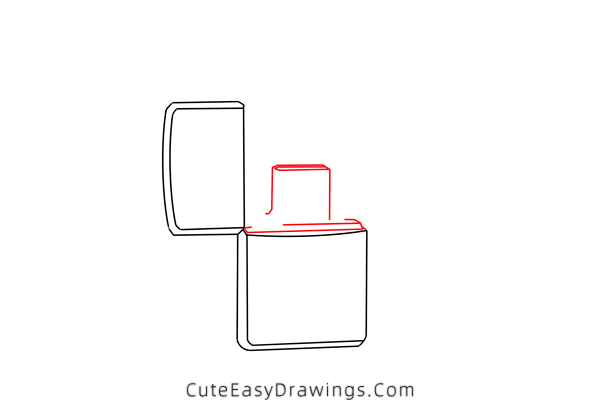
Step 4 Add details to the top of this lighter.
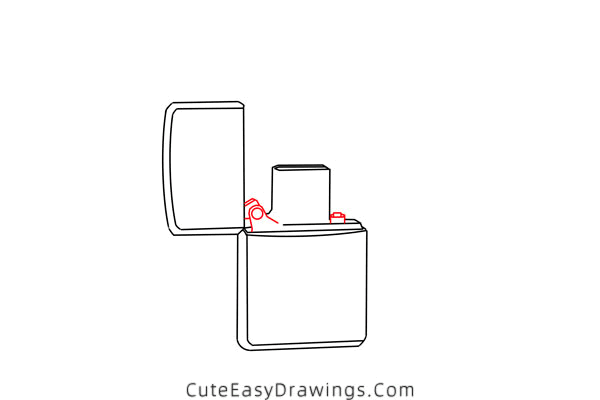
Step 5 Add small circles to the top of this lighter.
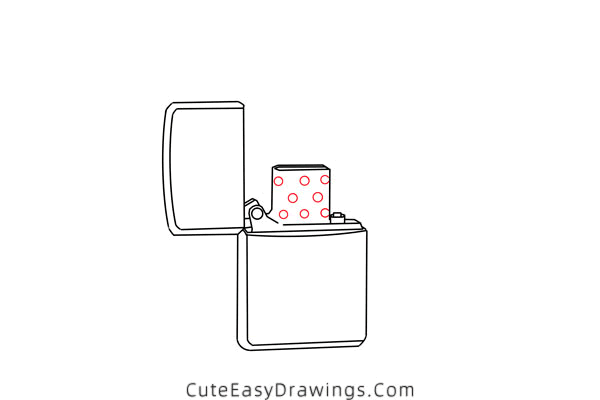
Step 6 Add details to the right side of the top.
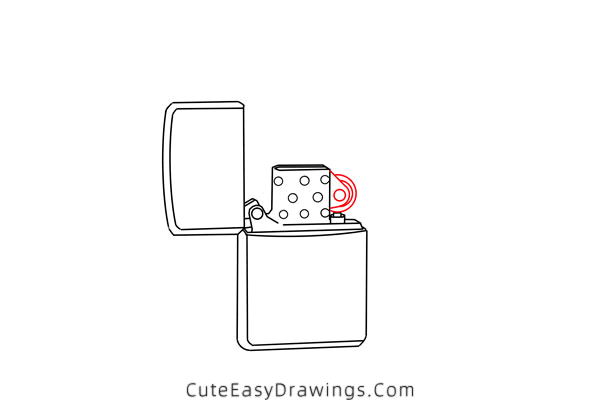
Step 7 Draw the fire above the top of this lighter.
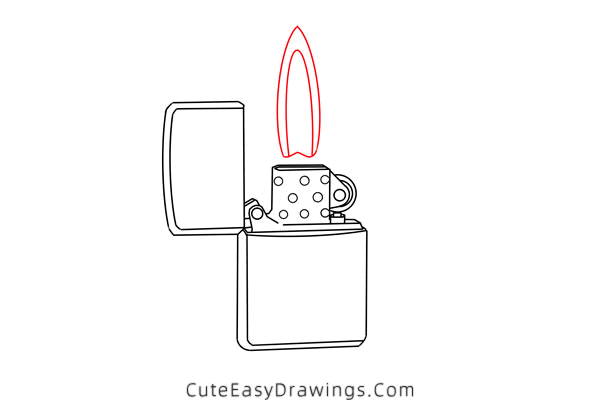
Step 8 Finish by coloring this lighter that lights on fire.

Guys, have you learned how to draw a lighter yet?
 How to Draw a Pan Step by Step
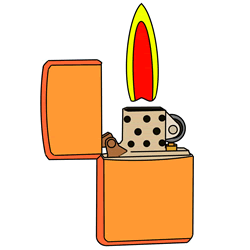 How to Draw a Lighter Step by Step
 How to Draw a Table Lamp Step by Step
 How to Draw a Robot Easy Step by Step
