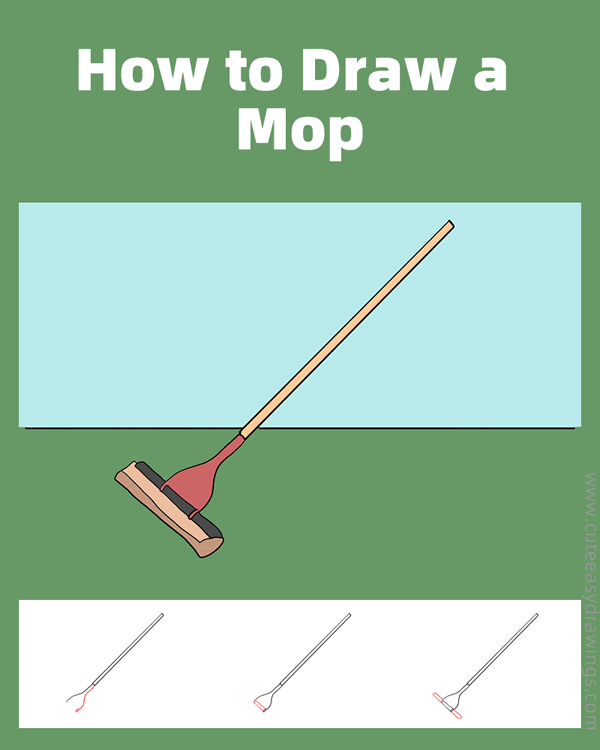
A mop is a cleaning tool that we use to make floors clean and shiny. It has a long handle that you can hold, and at the bottom, there is a soft part, usually made of cloth or strings.
We dip the mop into water and sometimes add some cleaning liquid to it. Then, we push and pull the mop across the floor to wipe away dirt and dust.

It helps us keep our home nice and tidy! Remember, always be careful not to slip on the wet floor while you’re mopping! Let's follow the step-by-step instructions to learn how to draw a mop.
SUPPLIES NEEDED:
√ Draw a Mop PDF (Click to download for free.)
√ Drawing Papers (You can get it easily and I would say almost any paper can be used.)
√ Pencils / Markers / Crayons / Watercolors (Remember to use a pen with a fine tip when outlining.)
FOR WHOM:
Preschoolers and kids of all ages
TIME NEEDED:
About 0.5 hour
INSTRUCTIONS:
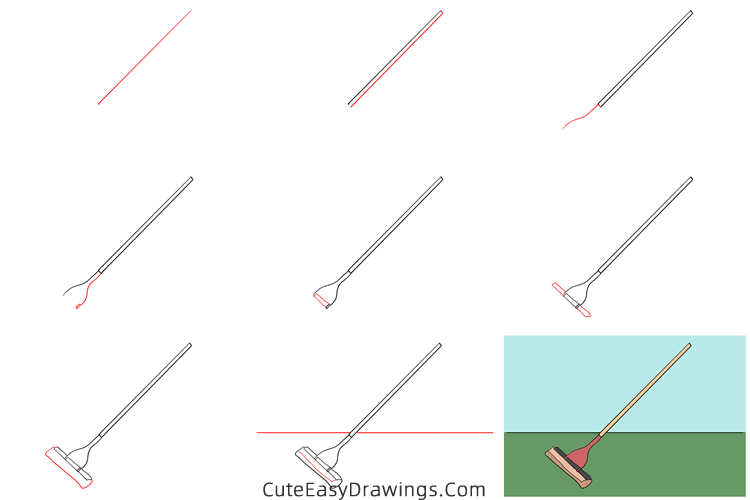
How to Draw a Mop Step by Step
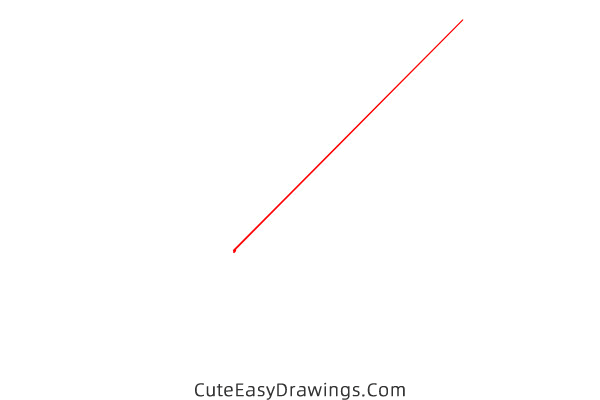
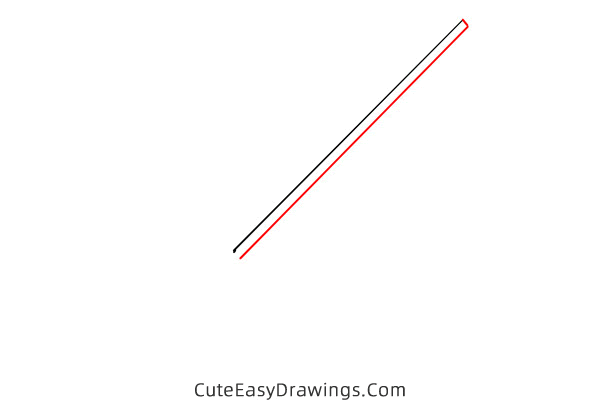
Step 1 Draw a long line.
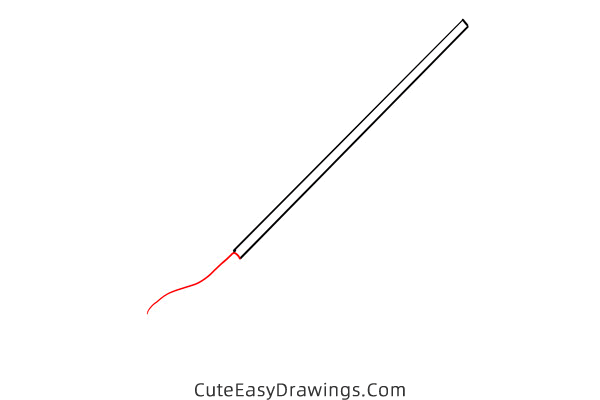
Step 2 Draw the handle of this mop.
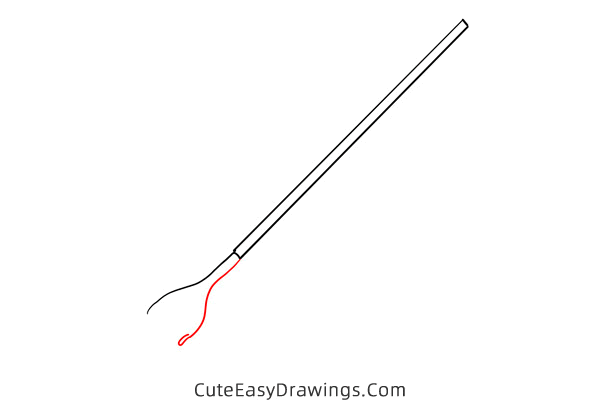
Step 3 Draw a curve at the bottom.
Step 4 Draw the other symmetrical curve.
Step 5 Draw a rectangle.
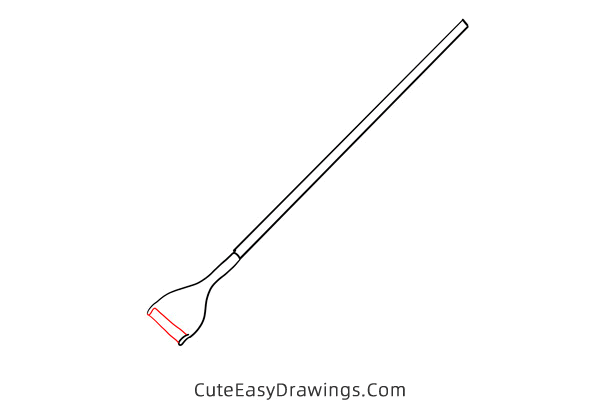
Step 6 Extend the rectangle at both ends.
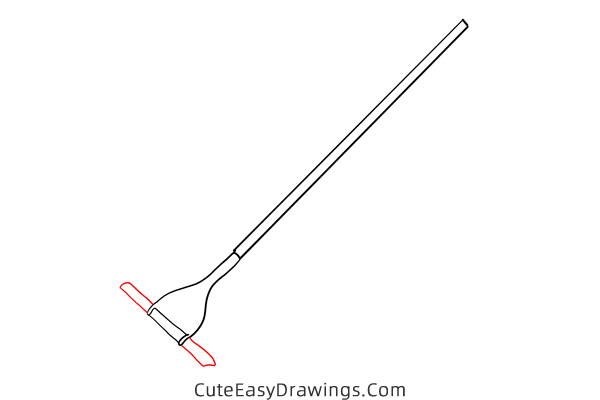
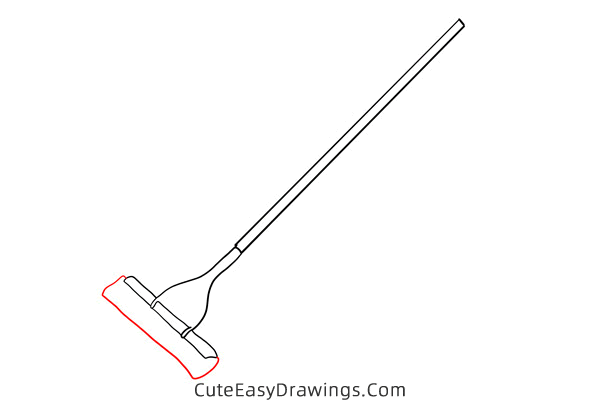
Step 7 Draw a mop head.
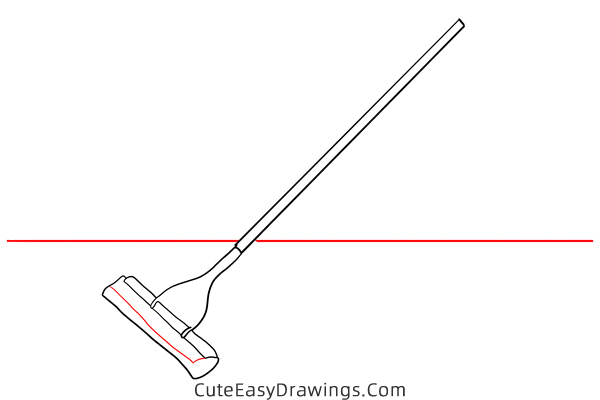
Step 8 Add details on the mop head.
Step 9 Simply color this mop head.
Guys, have you learned how to draw a mop yet?
 How to Draw a Pan Step by Step
 How to Draw a Lighter Step by Step
 How to Draw a Baseball Bat and Ball Step by Step
 How to Draw a Robot Easy Step by Step