A router is like a magic box that helps our devices, like our phones, tablets, and computers, talk to each other and share information. It's kind of like a friendly post office that delivers messages all around the house and even to other houses far away!
Here's how it works: The internet comes into our house through some wires or sometimes even through the air! The router takes that internet and spreads it out so that all of our devices can use it. It's like a spider web, but instead of catching bugs, it catches internet signals and sends them to us.
When you want to watch a video on YouTube or play a game with your friends, your device talks to the router and says, "Hey, can you get me this information?" The router then goes out into the big world of the internet and finds what you're looking for and brings it back to you.
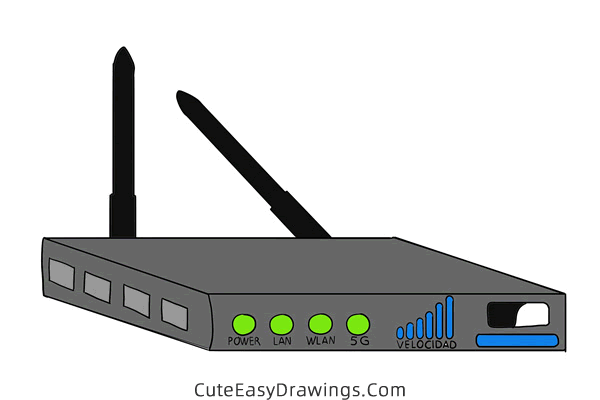
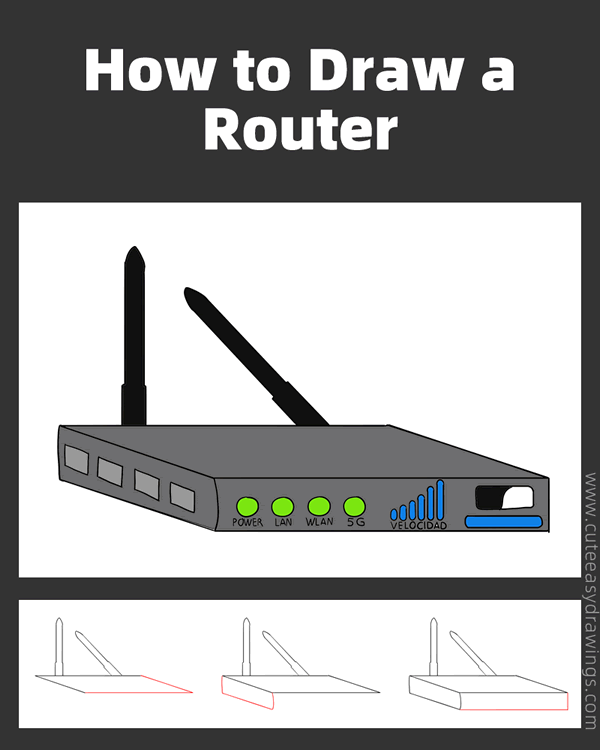
Routers have antennas, which are like the router's arms. These antennas wave around and catch the internet signals. The more antennas a router has, the stronger its reach usually is. It's like having more arms to catch more things!
Sometimes, routers have a few different colors or lights on them. These lights are like the router's way of saying, "Hey, I'm working!" or "I'm connected to the internet!" It's a fun way for the router to communicate with us.
It's working hard behind the scenes to make sure you can have fun and learn new things online. The following step-by-step instructions will show us how to draw a router, so if you are interested in this, follow the tutorial and try it out!
SUPPLIES NEEDED:
√ Draw a Router PDF (Click to download for free.)
√ Drawing Papers (You can get it easily and I would say almost any paper can be used.)
√ Pencils / Markers / Crayons / Watercolors (Remember to use a pen with a fine tip when outlining.)
FOR WHOM:
Elementary school students
TIME NEEDED:
About 1 hour
INSTRUCTIONS:
How to Draw a Router Step by Step
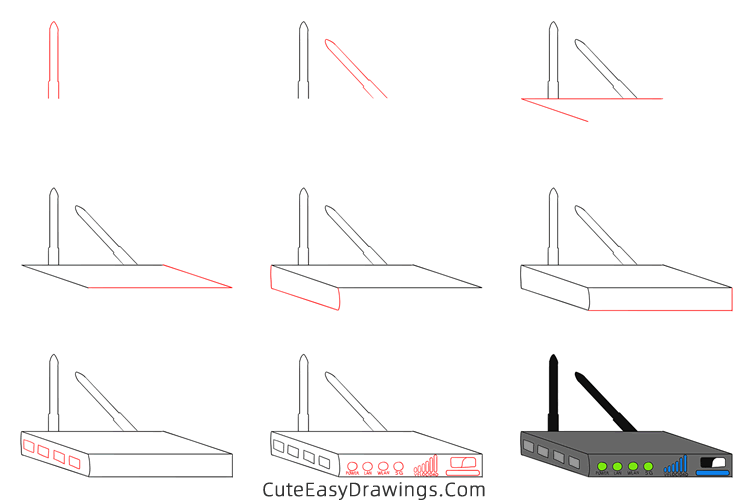
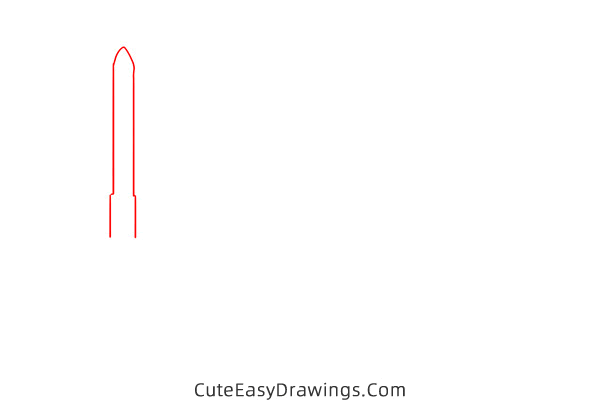
Step 1 Draw an antenna of this router.
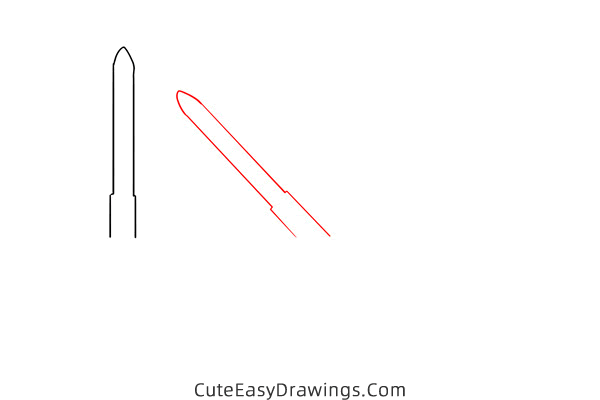
Step 2 Draw the other antenna of this router.
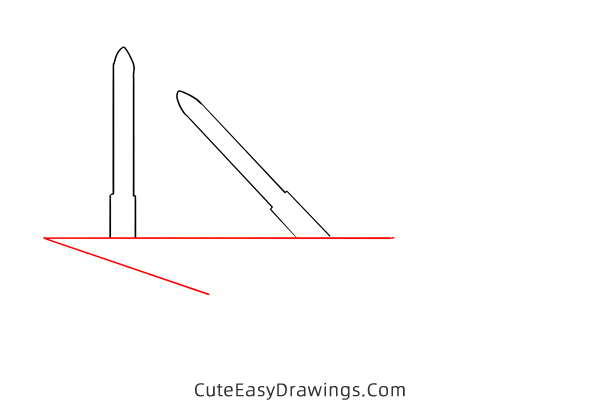
Step 3 Draw a corner of this router.
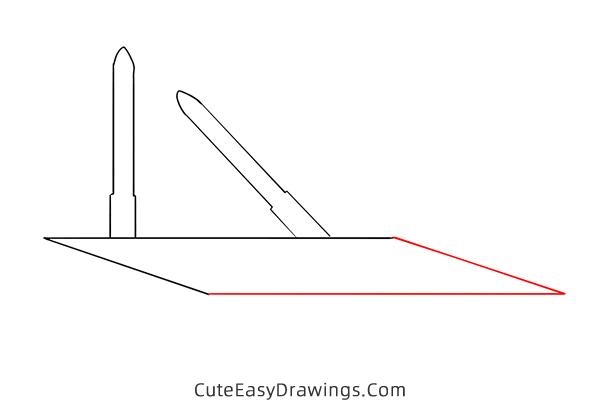
Step 4 Draw the top surface of this router.
Step 5 Draw a side of this router.
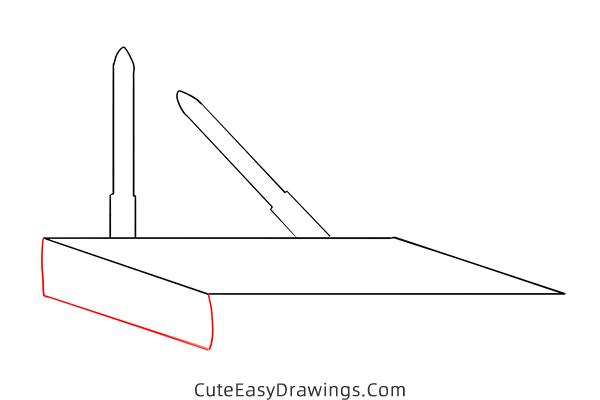
Step 6 Draw the front of this router.
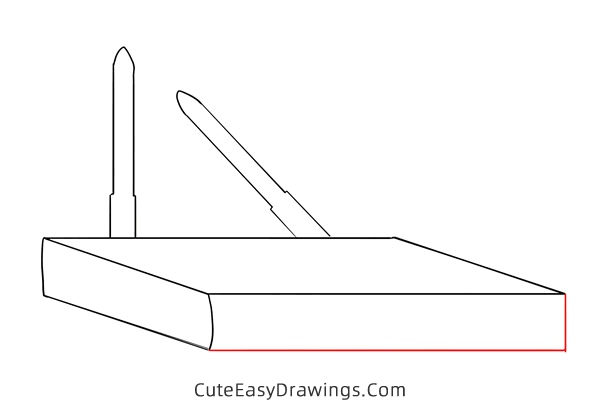
Step 7 Add four small rectangles to that side.
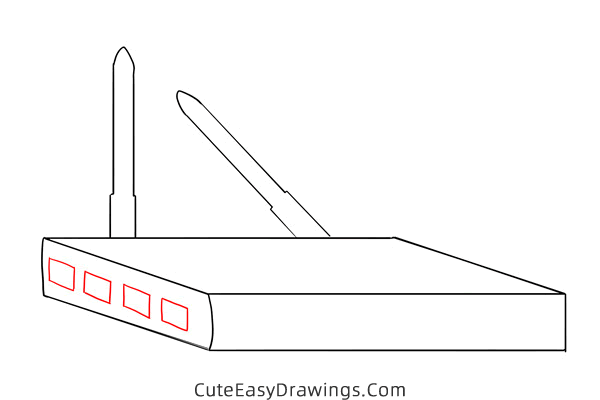
Step 8 Draw buttons and indicators on the front
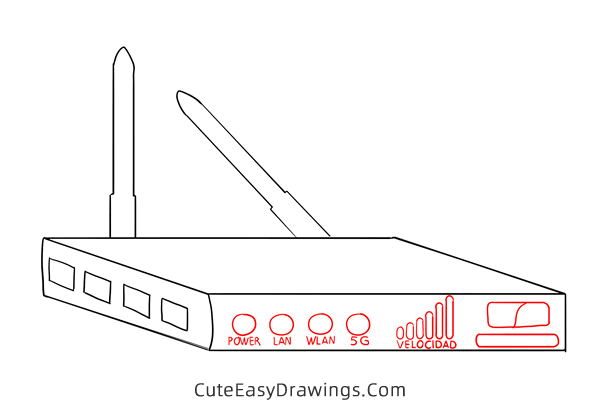
Step 9 Finally colour this router.

Guys, have you learned how to draw a router yet?
 How to Draw a Pan Step by Step
 How to Draw a Lighter Step by Step
 How to Draw a Table Lamp Step by Step
 How to Draw a Robot Easy Step by Step
