One morning in winter, I opened the window and saw that it was snowing heavily outside, covering the earth with a thick, snow-white blanket.The bare trees also bloomed with many white crystal silver flowers.
Mountains, fields, streets are all covered in white snow. Walking in the snow, my feet made a creaking sound. I was so excited that I wanted to build a snowman in the snow.
I couldn't wait to put on my cotton coat, gloves, and shovel, and rushed into the snow. Soon, a small snowball was made by me, I pushed the "ball" forward, and soon made a snowman's head and body.
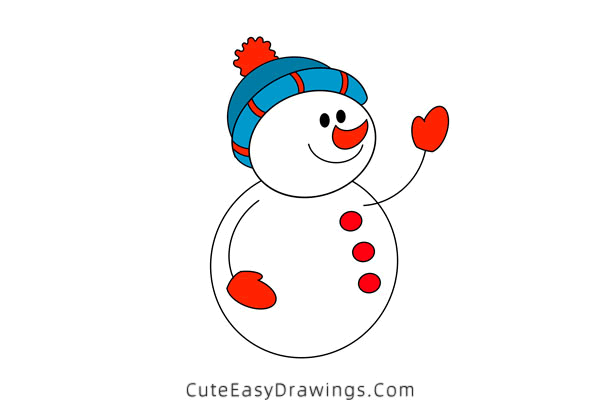
I found two black buttons for the snowman's eyes, a twig for his mouth, a carrot for his nose, and a warm hat to put on his head, and a cute snowman was finished!
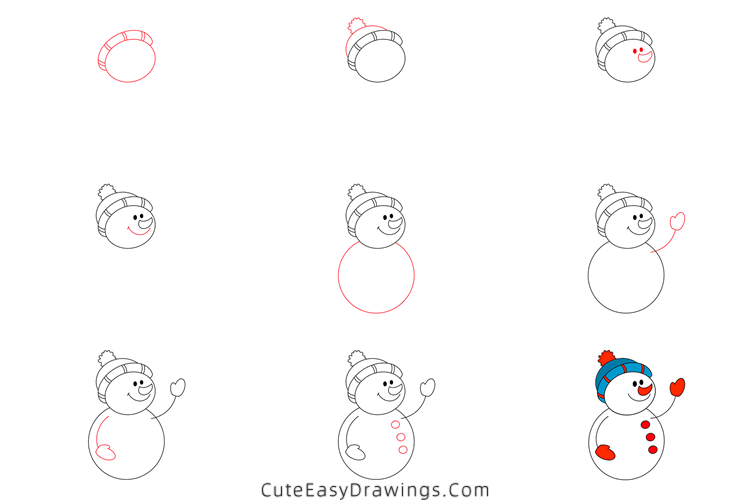
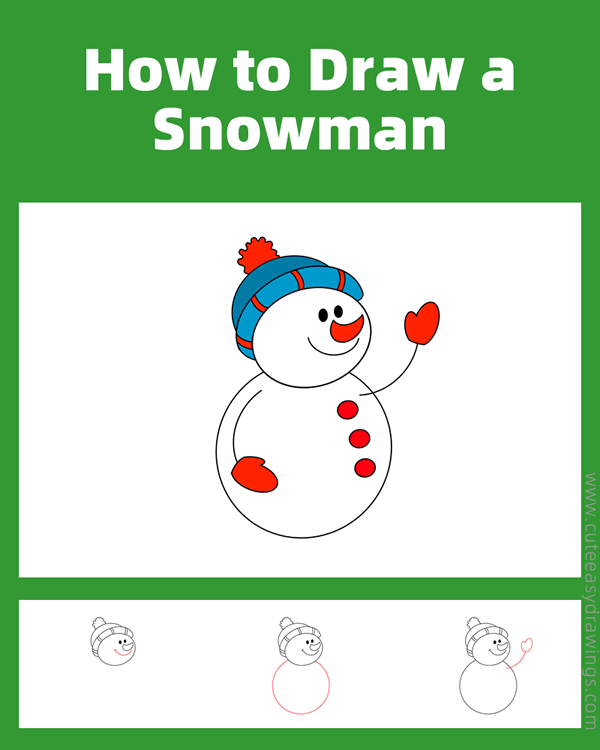
For today's drawing tutorial, let's follow the step-by-step instructions below to learn how to draw a cute snowman. It's a very simple thing to do and you don't have to worry at all that you won't be able to do it.
How about it, guys if you are interested let's get started together. Start by drawing the hat of this snowman, then the head, body, arms and buttons. You'll love how he appears on your homemade cards!
SUPPLIES NEEDED:
√ Draw a Snowman PDF (Click to download for free.)
√ Drawing Papers (You can get it easily and I would say almost any paper can be used.)
√ Pencils / Markers / Crayons / Watercolors (Remember to use a pen with a fine tip when outlining.)
FOR WHOM:
Preschoolers and kids of all ages
TIME NEEDED:
About 0.5 hour
INSTRUCTIONS:
How to Draw a Simple Snowman Step by Step
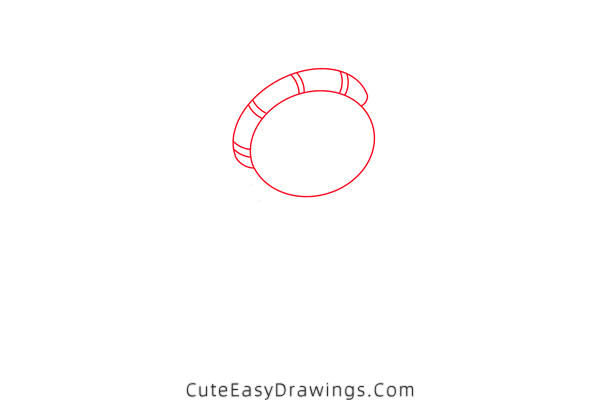
Step 1 Outline the head. Draw the brim of the hat.
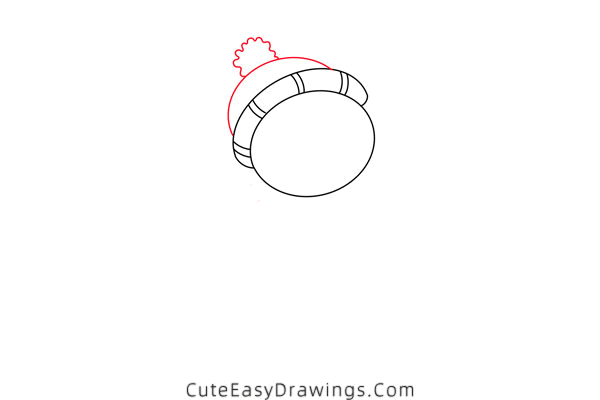
Step 2 Finish this snowman's winter hat.
Step 3 Add eyes and a nose to this snowman's face.
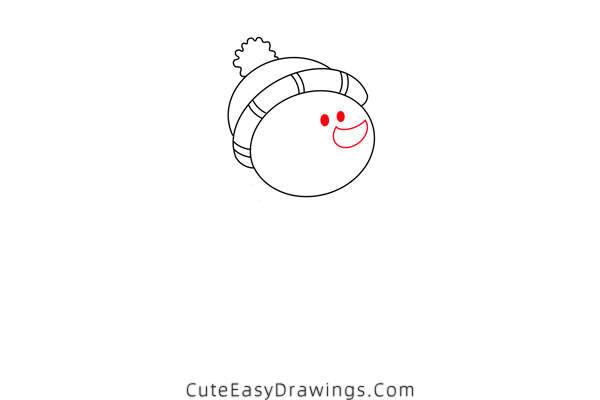
Step 4 Draw a big smile on this snowman's face.
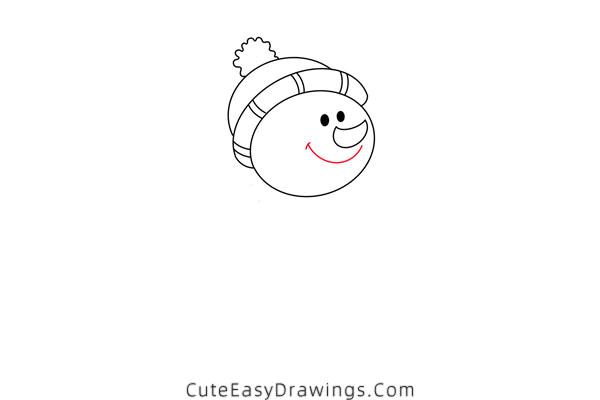
Step 5 Outline the body of this snowman below the head.
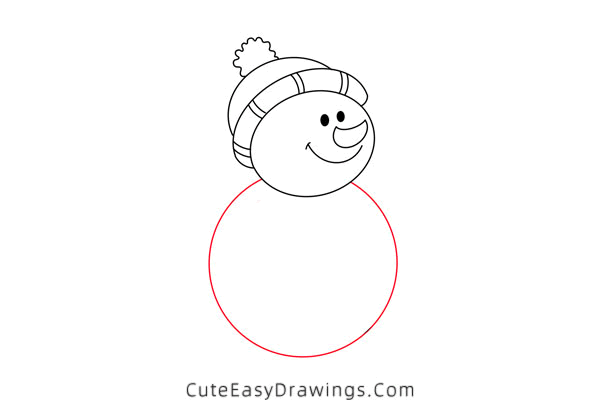
Step 6 Draw an arm and a glove.
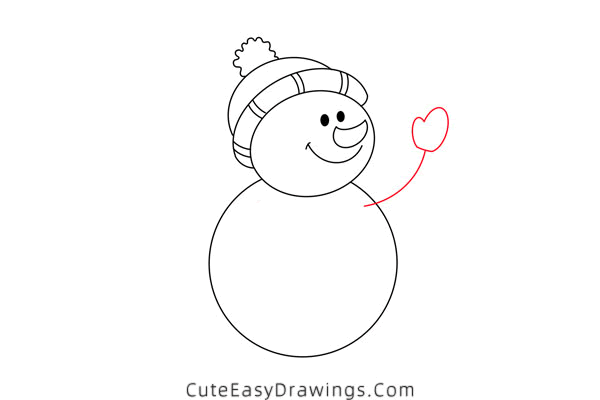
Step 7 Draw the other arm and the other glove.
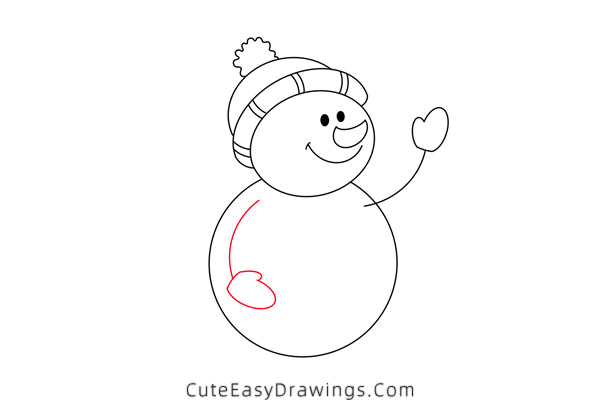
Step 8 Draw three circles on the body as buttons.
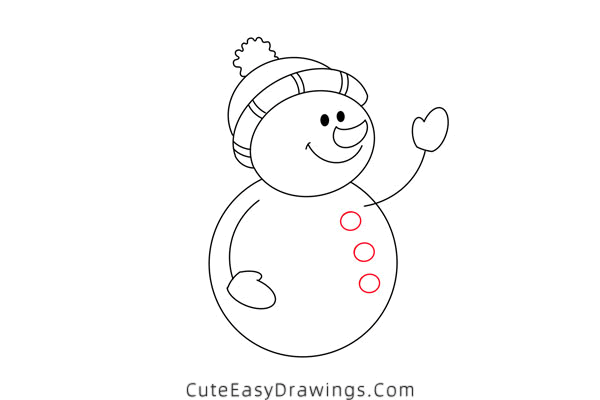
Step 9 Finally color this simple snowman.

Guys, have you learned how to draw a snowman yet?
 How to Draw Rudolph Step by Step
 How to Draw a Rose Step by Step
 How to Draw a Halloween Cat Step by Step
 How to Draw a Christmas Tree Step by Step