"Frosty the Snowman" is a fun and magical Christmas story that was made into an animated TV special in 1969. It's about a group of children who build a snowman named Frosty. Frosty comes to life when they put a magic hat on his head.
Frosty is a very friendly snowman with a corncob pipe, a button nose, and eyes made out of coal. He loves to play and have fun with the children. But one day, the weather starts to get warm, and Frosty is worried that he might melt. So, he decides to go to the North Pole to stay safe.
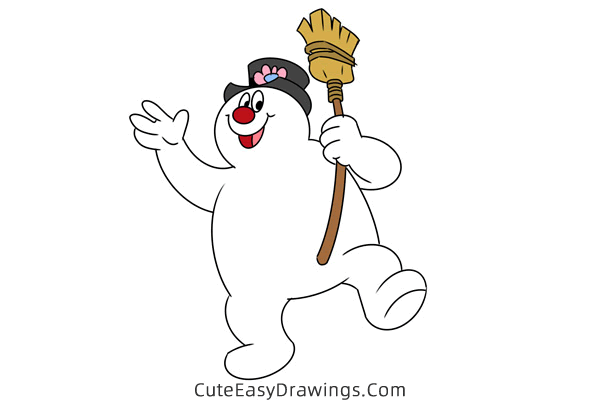
The children, especially a little girl named Karen, want to help Frosty. They all go on an adventure together, trying to get to the North Pole before Frosty melts. Along the way, they meet a magician named Professor Hinkle, who wants the magic hat back.
But with the help of a rabbit named Hocus Pocus, they manage to keep the hat and save Frosty. In today's drawing tutorial, let's learn how to draw Frosty the Snowman, who is holding a broom and saying hello to us!
SUPPLIES NEEDED:
√ Draw Frosty the Snowman PDF (Click to download for free.)
√ Drawing Papers (You can get it easily and I would say almost any paper can be used.)
√ Pencils / Markers / Crayons / Watercolors (Remember to use a pen with a fine tip when outlining.)
FOR WHOM:
Elementary school students
TIME NEEDED:
About 1 hour
INSTRUCTIONS:
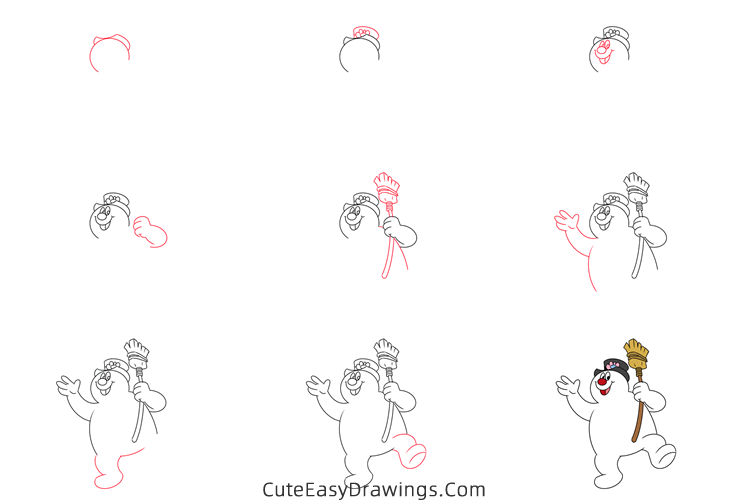
How to Draw Frosty the Snowman Step by Step
Step 1 Outline Frosty's head.
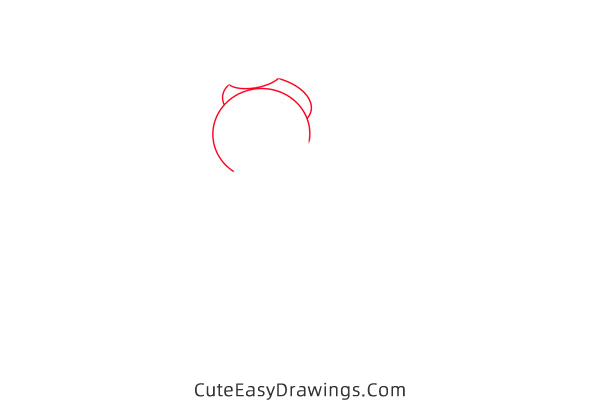
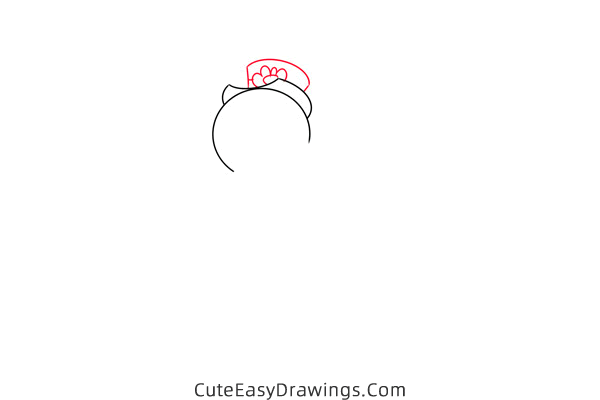
Step 2 Draw Frosty's hat.
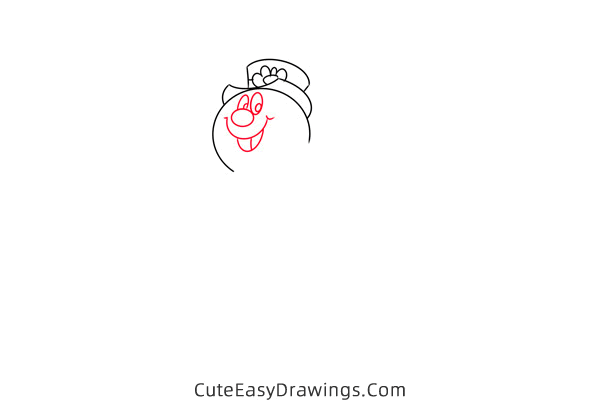
Step 3 Draw Frosty's face.
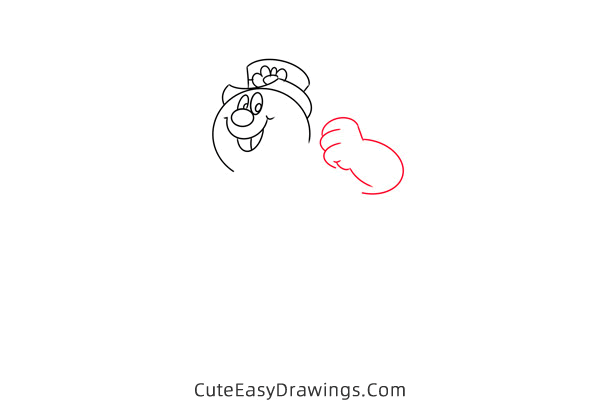
Step 4 Draw one of Frosty's arms.
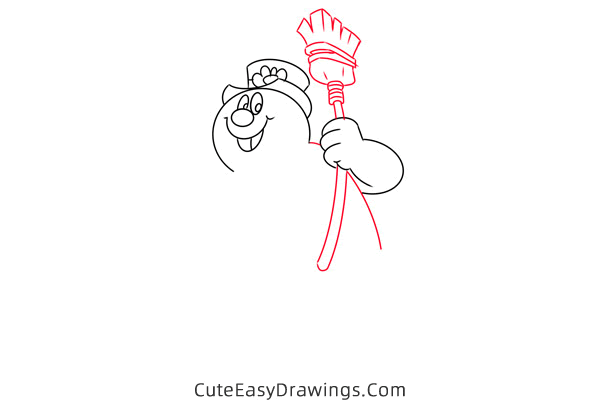
Step 5 Draw a broom.
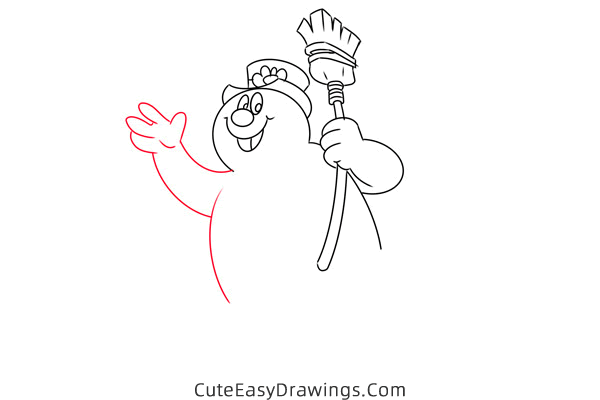
Step 6 Draw Frosty's body and one arm.
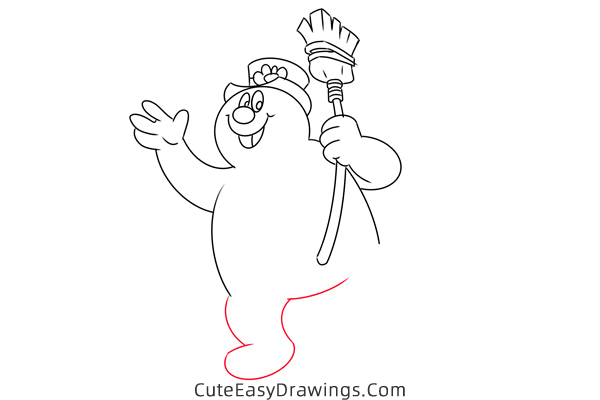
Step 7 Draw one of Frosty's legs.
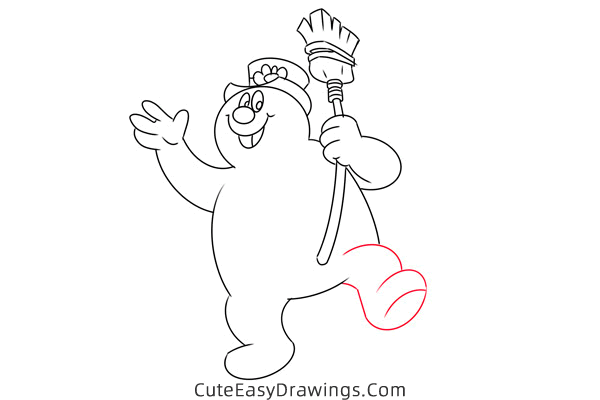
Step 8 Draw Frosty's other leg.
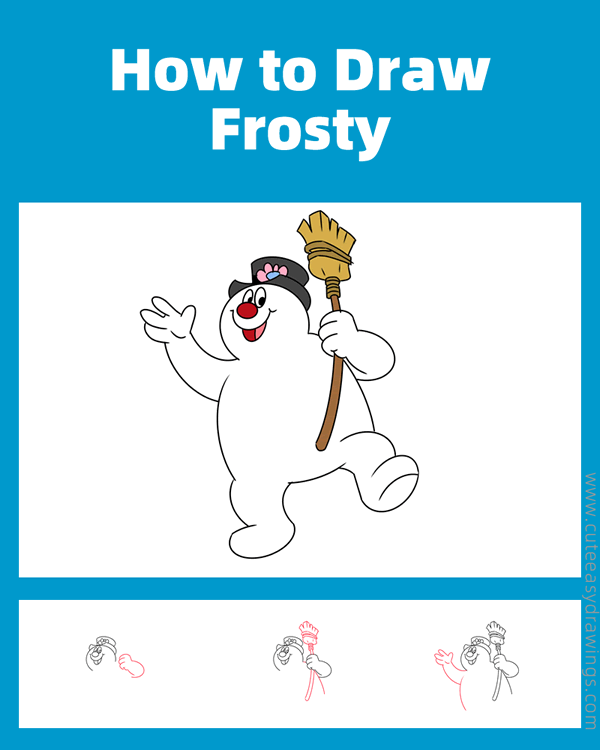
Step 9 Color Frosty and his broom.

Guys, have you learned how to draw Frosty the Snowman yet?
 How to Draw Nemo Step by Step
 How to Draw Monkey D. Luffy Step by Step
 How to Draw Stitch Easy Step by Step
 How to Draw Pikachu Step by Step