Pliers are a special kind of tool that we use to grip or hold things tightly. They look like a pair of metal 'tweezers' with two long handles. One end of the pliers has two strong, flat pieces of metal that come together like a hug.
When you want to use pliers, you open and close the handles with your hands. When you squeeze the handles together, the flat metal pieces also come together. This helps us to hold onto things that are hard to grip with our fingers, like nails or wires.
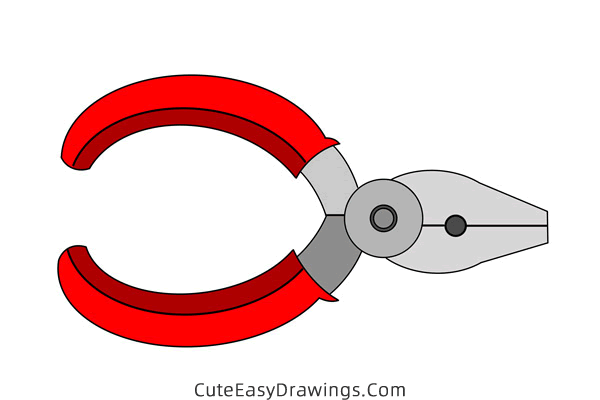
There are different types of pliers for different jobs:
Regular Pliers: These are good for holding and bending small things.
Wire Cutters: They have sharp edges to cut wires easily.
Plier-Nut Drivers: These have a special part on the end to turn nuts and bolts.
Pliers are very helpful for people like mechanics, electricians, and even your parents when they are fixing things around the house. But remember, pliers are tools for grown-ups, so always ask for help from an adult if you need to use them. If you are also curious about pliers, come along and learn how to draw it out!
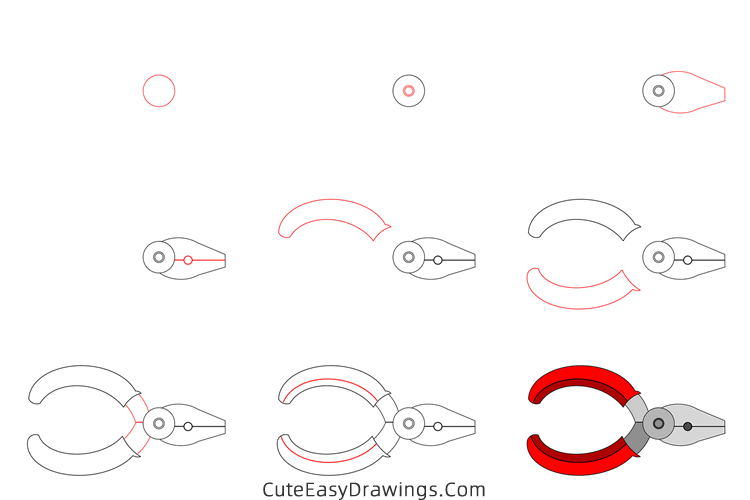
SUPPLIES NEEDED:
√ Draw Pliers PDF (Click to download for free.)
√ Drawing Papers (You can get it easily and I would say almost any paper can be used.)
√ Pencils / Markers / Crayons / Watercolors (Remember to use a pen with a fine tip when outlining.)
FOR WHOM:
Preschoolers and kids of all ages
TIME NEEDED:
About 0.5 hour
INSTRUCTIONS:
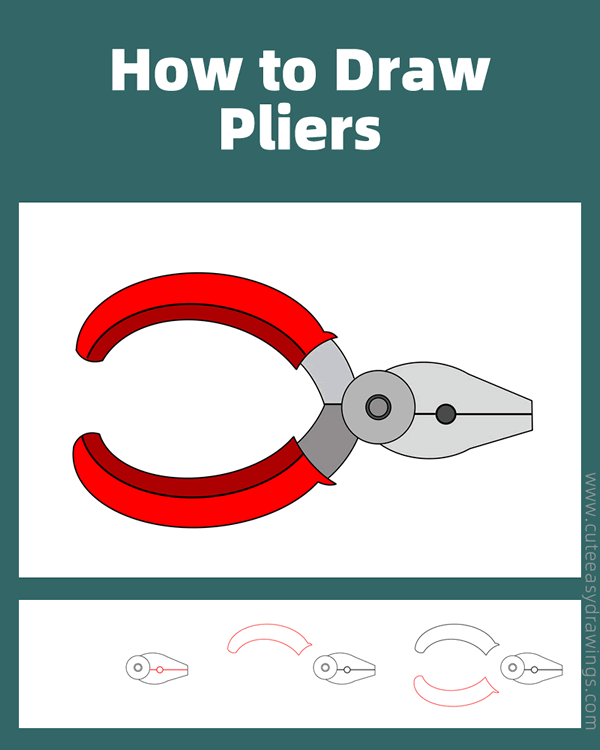
How to Draw Pliers Step by Step
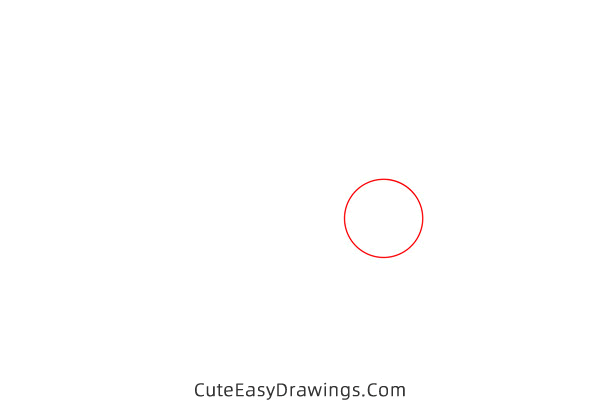
Step 1 Draw a circle.
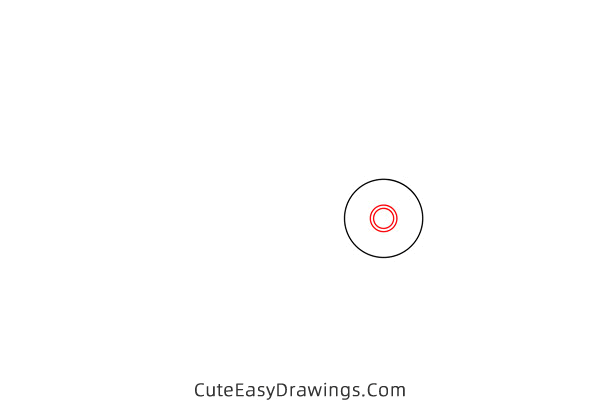
Step 2 Draw two small circles inside.
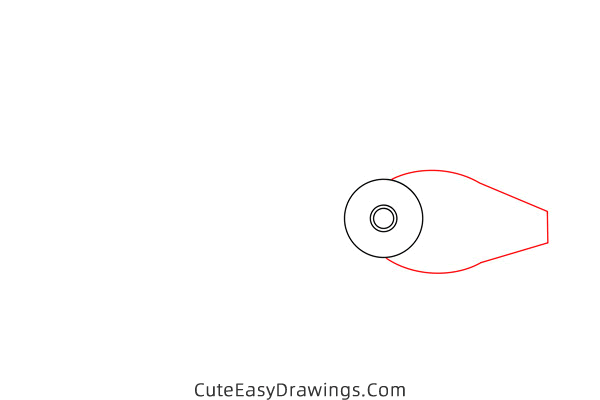
Step 3 Draw the head of this pliers.
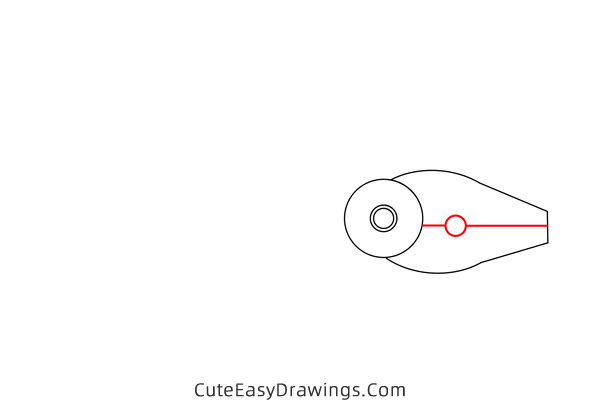
Step 4 Draw a circle and a horizontal line.
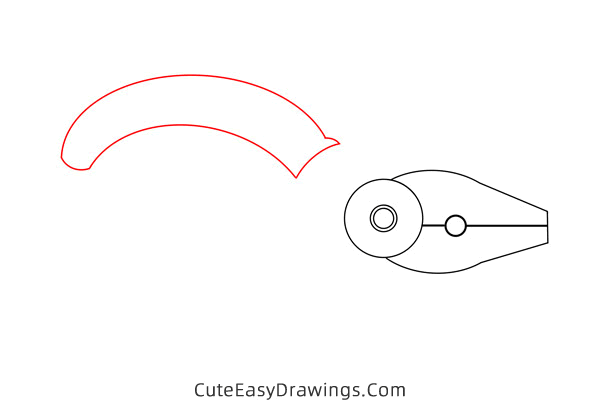
Step 5 Draw a handle for this pliers.
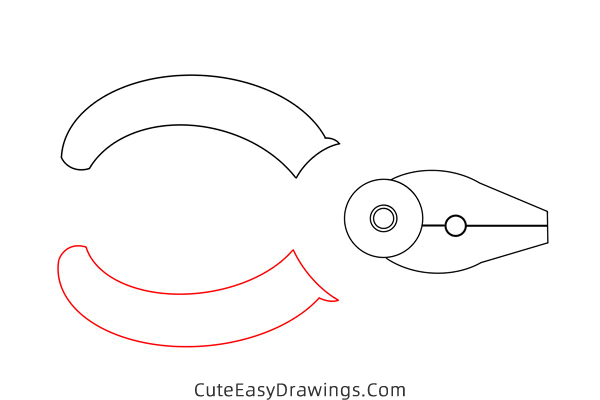
Step 6 Draw the other handle of this pliers.
Step 7 Attach the handle to the head.
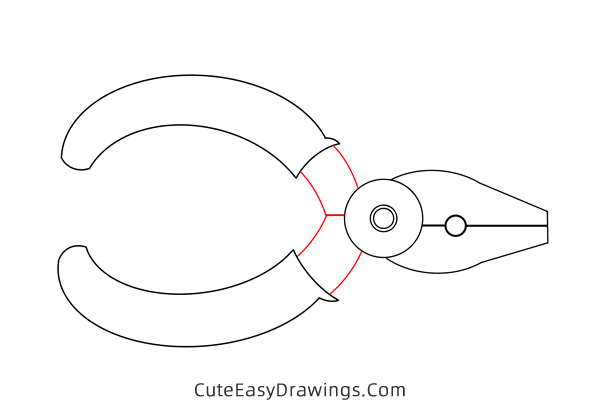
Step 8 Draw a curve on each handle.
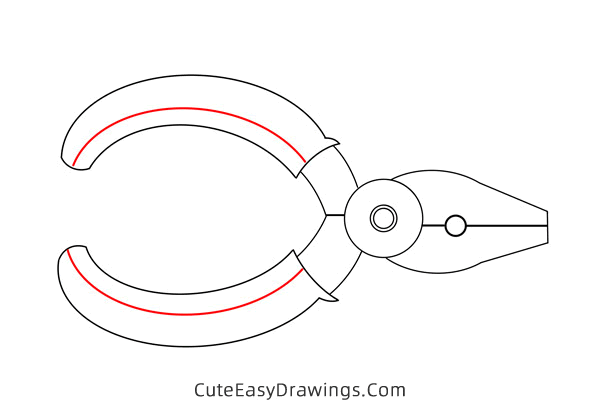
Step 9 Simply color this pliers.

Guys, have you learned how to draw pliers yet?
 How to Draw a Pan Step by Step
 How to Draw a Lighter Step by Step
 How to Draw a Table Lamp Step by Step
 How to Draw a Robot Easy Step by Step