If you're in New York, it's a must to visit the Statue of Liberty, a New York landmark.It is located on Liberty Island in New York Harbor, USA and was completed in 1886. Since the day it was built, the Statue of Liberty has become the national symbol of the United States.
The Statue of Liberty weighs 450,000 pounds and is dressed in ancient Greek style, holding a torch symbolizing freedom in her right hand and the Declaration of Independence in her left. It was a gift from France to the United States on the 100th anniversary of its founding.
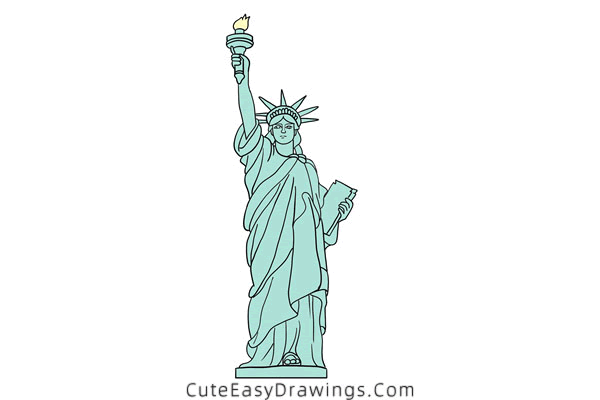
The Statue of Liberty was modeled after the Statue of Liberty in the Luxembourg Park in Paris, France, and it took the famous French sculptor Bartholdi 10 years to complete the sculpture of the statue.
And for today's drawing tutorial, we are going to learn how to draw the Statue of Liberty. It's not an easy thing to do, and if you are interested in it and want to draw it out, you need to be very focused and hardworking to do it!
SUPPLIES NEEDED:
√ Draw the Statue of Liberty PDF (Click to download for free.)
√ Drawing Papers (You can get it easily and I would say almost any paper can be used.)
√ Pencils / Markers / Crayons / Watercolors (Remember to use a pen with a fine tip when outlining.)
FOR WHOM:
Elementary school students
TIME NEEDED:
About 2 hour
INSTRUCTIONS:
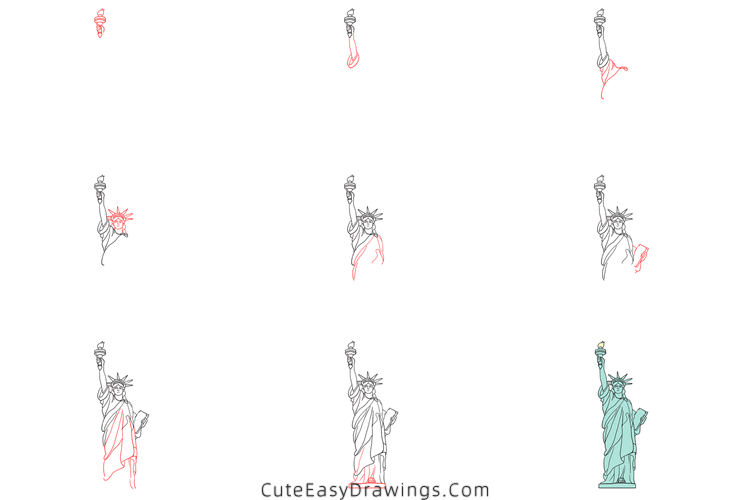
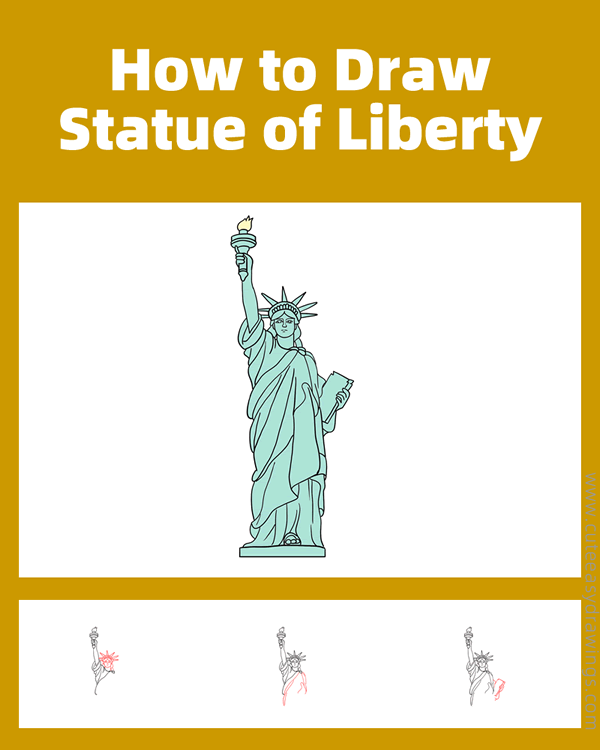
How to Draw the Statue of Liberty Step by Step
Step 1 Draw one hand of the Statue of Liberty and the torch on it.

Step 2 Draw one arm of the Statue of Liberty.
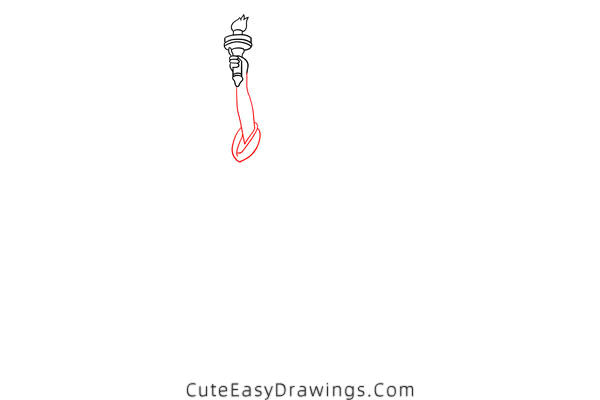
Step 3 Draw one of the loose sleeves of the Statue of Liberty.
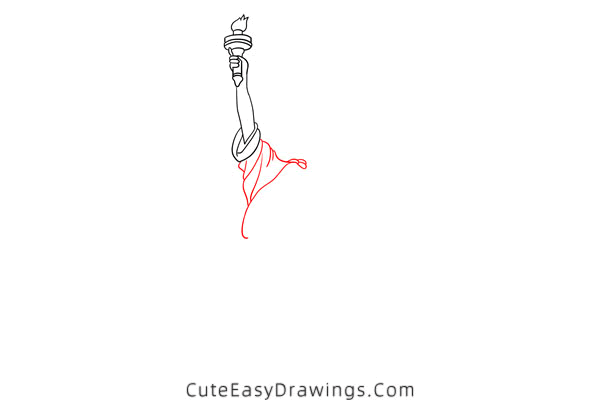
Step 4 Draw the head of the Statue of Liberty.
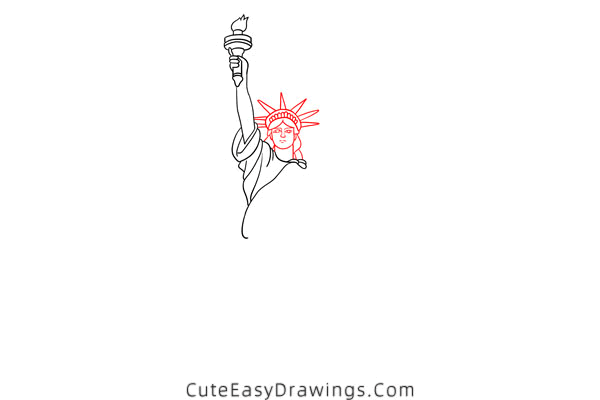
Step 5 Draw the body of the Statue of Liberty.
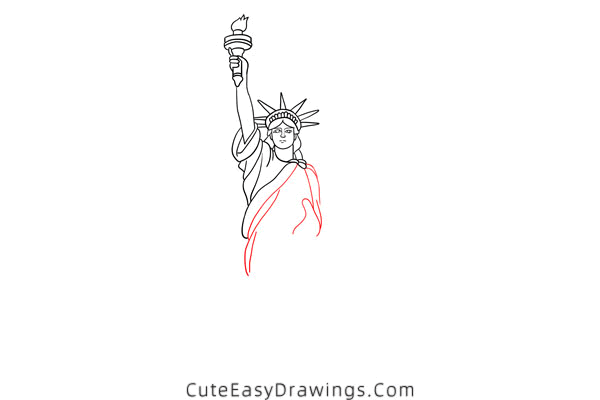
Step 6 Draw the other hand of the Statue of Liberty and the book in it.
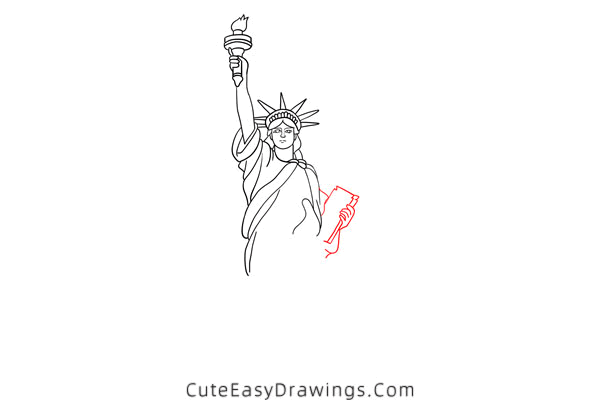
Step 7 Continue drawing the body of the Statue of Liberty.
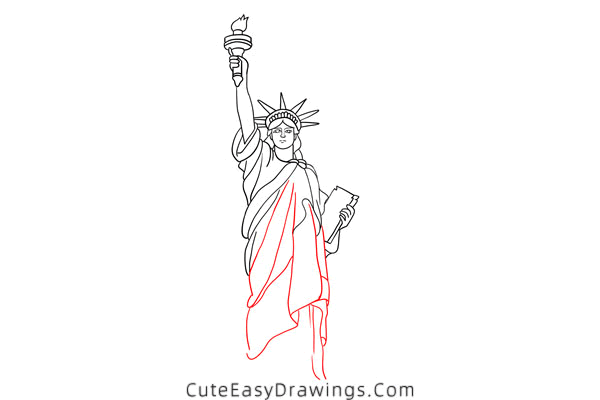
Step 8 Draw one foot and base of the Statue of Liberty.
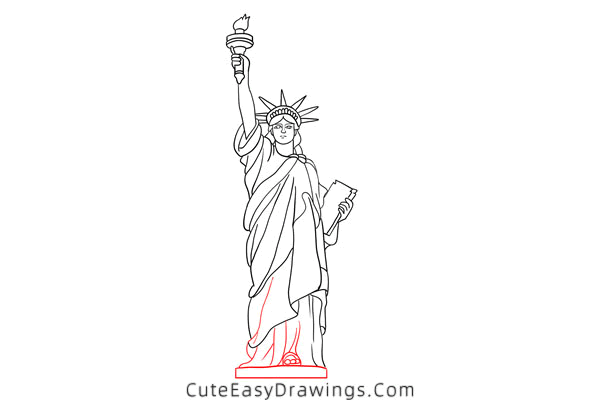
Step 9 Final coloring to complete this world famous building.

Guys, have you learned how to draw the Statue of Liberty yet?
 How to Draw a Small House Step by Step
 How to Draw a Church Step by Step
 How to Draw a Hospital Step by Step
 How to Draw a Cartoon House Step by Step

